Showing posts with label mixed media. Show all posts

Friday, December 7, 2018

Perfect for Gift Giving

Let's make a beautiful gift box!

Today's project is a great upcycle using sturdy packaging from a recent purchse I made.  It is very much like a circular wine bottle "box", but a bit shorter.  It will be great for odd shaped gifts or plyable type gifts like a scarf, kitchen towel or a cute pair of fuzzy socks.  So, let's get started...

Here is what we started with.
YOU can see the complete supply list & links at the bottom of the post.

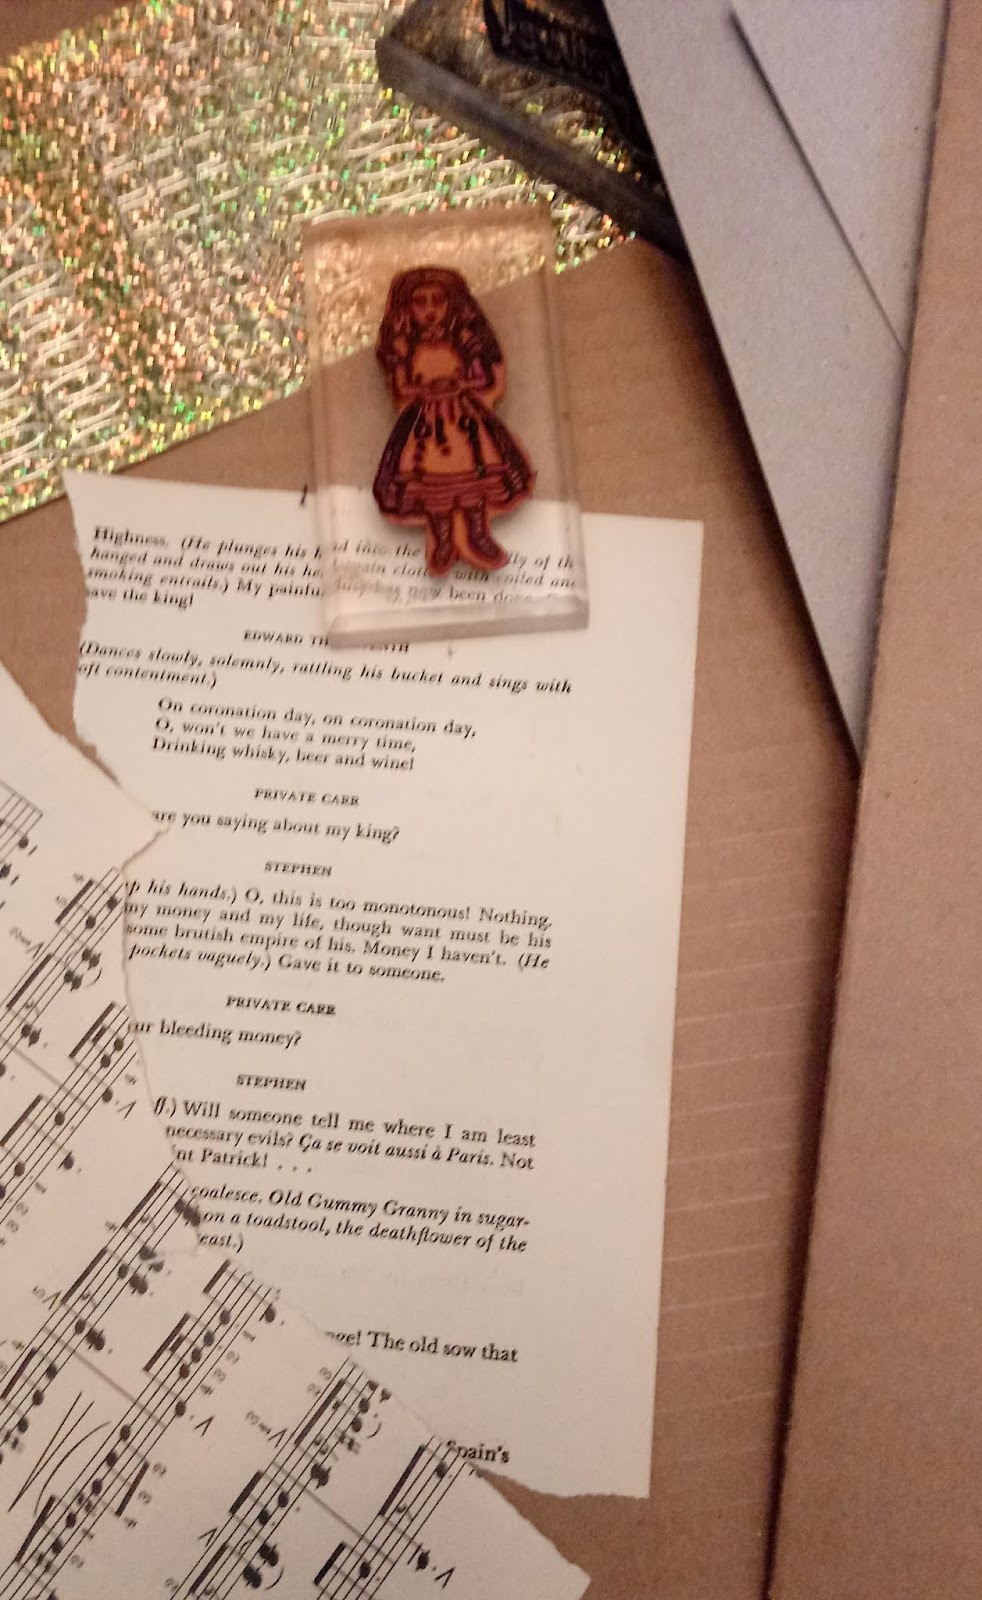
Here we have the first layer of vintage text pages decoupaged onto the surface.
Next, I dry brushed ivory colored chalk paint, added a bit of black chalk paint here and there, then the final layer was a thin coat of gold metalic using my gold metallic Gelato.  I was going for a worn, vintage look. 
Then, it was time to decorate the lid.  I added more gold metallic, laces, big chunky glitter and die cut snowflakes that I painted white and added more chunky glitter to.  I initially thought I would use a pretty glittered Prima flower on the lid (seen in the top pic here), but decided on the glittered snowflakes. 
 
Now, it was time to add my digital images.  For the back of the box I cut out a number of smaller vintage Santa images and decoupaged them in a random pattern.  I then added more glittered snowflakes.  You can see in the image below that I added beaded trim to the lid of the box...you can never have too many embellishments! 
And here is the front again with a much larger focal image of a very cheery St. Nicholas and a cute little angel peaking over his shoulder...along with a few more glittery snowflakes to tie it all together. 
I hope you are inspired to upcycle your own creation!
DIY Design Studio has everything you need to do just that!
Happy Holidays and Happy Crafting! 
Steph S. 


Supply List -
Santa Brings Cheer Digital Art Collage
Embellishments, Lace and Trims 
PPA glue
Vintage law books  for text pages
Chalk Paint -primitive
Chalk Paint - relic
Gelato Metallic - gold 
Die cuts and other embellishments


Friday, November 2, 2018

Building My Stash

Hi there!  Welcome to The DIY Design Studio Blog.  
All this month we are going to be showcasing original art and crafts featuring die cut images and laser cut chipboard. 
Today I have for you a giant tag that I created for when I need a little something extra to add to a gift bag, package or hostess gift, such as a bottle of bubbly.  How cute would this be tied to a bag of specialty coffee beans?  Put the bag of coffee in an oversized mug and who would not love to receive that?  
Here is how I started...
I have a large metal book ring that I keep tags in all stages of doneness on.  Today I grabbed a tag from that ring that I created a backround on long ago.  For this tag I used tissue to give it some texture.  I also used inks in green and rust as well gold and copper metallic paints for a base of color.  This really spoke to me for a Fall hostess tag.  I also gathered some lace, ribbon, a chipboard letter S and the star of the  show a die cut embellishment in a circle flourish pattern.  I also grabbed a few charms but did not end up using them.  They can always be added later if I choose. 
So, here you can see the tag looking almost leather-ish.  The photo really does not do it justice.  I also have a large piece of lace that I fussy cut.  I added copper and gold paint to the die cuts.  I had planned on painting the blue "S" completely, but I really loved that little bit of blue shining through the copper.  So, I only gave that one coat of copper.  Oh and in this pic above you can see another plain tag there.  I used that tag as a base for doing my painting.  So I am already starting on another backround.  I used up the last of my paint from my palette and that tag now has a beautiful copper base for future use and bonus - no paint was wasted. 
I adhered the lace with a Aleene's tacky glue.  A great happy accident happened...when I added the Tackly glue it reactivated some of the inks I had previously used and it began to colorize the cream colored lace, which I LOVE that result! 
Next, I hot glued the die cut circle to the tag and then the "S' to the circle.  I also added a gold metallic bow to the top for hanging.  
I really love the look...and there are so many uses for it to step up your gift giving any time of the year.  Tags and die cuts are just great to have a stash of.  I think it is a great idea to have on hand ready to go original "mini" art creations to give along with a store bought gift.  This tag could even be arranged in a greeting card format.  
Here is that ring of tags with the newly painted copper 
tag right on top.  ;-) 
I just love making tags...they are  quick, original art and have so many uses.  
DIY Design Studio has everything you need to make your own!

Thanks so much for jointing me today!
Stephanie

Supply list - 
Tags   and more  Tags
Paints
Embellishments and die cuts
Tacky Glue
Ribbon and Trims

Saturday, October 13, 2018

On Missions for Good Visions

Week 2 of Visions Board is here.

I have been gathering substrates for my board, corrugated, heavy chipboard or the Dollar Store for poster board or Foamcore is perfect.  As I am rummaging through the studio, I am picking up things that strike me as possibly appropriate for my board.


I have become Pescatarian (vegetarian with fish).  My husband has been diagnosed with some health issues and we MUST eat healthy, limited carbs, fruits and veggies, and no processed foods...So this board is actually more for him than me!  Still a work in progress with more thoughts to add.  


You could scan/copy pages from a favorite book, cut pictures out of magazines for favorite foods or fitness/exercises. Family event photos are perfect too.
Healing thoughts/images if you need them are great.


My vision for 2019 is to make my website more profitable and to hopefully stay open as a store!  A clean thought process and orderly office can help make reaching that goal more possible. 


        \
Give yourself 5 minutes each day and allow thoughts to pop into your head, you may be surprised!  Make notes.

Choose with no preconceived thought process, you will think about it later as you build your board.  Pick colorful images that can stand out as focal points or subdued images or papers for backgrounds.  

I chose the flat corrugated, as it can add texture as I move along.  It also presents a neutral background if left blank in areas, or use any color you choose.   My board is 15" x "20.   Easy to hang on the fridge or office wall as a daily reminder.  

Mod podge, watered down Aleen's 
tacky glue or even Elmer's glue is fine for applying images and backgrounds, but not too watery especially if you are using magazine pages, as they will wrinkle.  Glue sticks are a good option, as they are not wet.  Keep a brayer or old credit card handy to smooth the papers as you go along.

Build using the format I showed you in my last post...or just use this as prompts for thoughts and images you can apply.
Next week we will add our own thoughts words, borders accents.  We will create a checklist to use.   

Please stop by our Store and take a peek at all the great stuff and the SALE prices too!  www.DIYDesignStudio.com


ZEN for me.

I chose to recycle a canvas box frame for my project.  I got this after Fall/Christmas for clearance at 90% off, so it was ninety cents!   Y...