Showing posts with label chalk paint. Show all posts

Sunday, February 17, 2019

I believe everyone is thinking of SPRING

When mid-February arrives each year most people in the Northern Hemisphere are pretty much done with winter.

It's time to break out the flowers and colorful decor to cheer us up from the gloom of winter.
Here are a few items of inspiration for your home.


Paint an old frame (or dollar store / thrift shop frame) also get bunches of colorful flowers.   Hot glue them onto the frame in a pleasing arrangement and take a look at spring!  For extra pizzaz, add a few drops of your favorite essential oil on the silk flowers.  NOTE: Use painters tape to mask off the mirror before painting to keep it neat and clean.

Fresh smells of Spring can be so easy to have in your house,  What is your favorite scent?  Mine is Lilacs, nothing says spring to me like lilacs and hyacinth.  Use the essential oil of your choice with baking soda.  Or for a truly clean and freshening effect use only the baking soda and change it out every couple days.
Shake the jar daily to increase the aroma or cleansing.

Homemade Air Freshener - CleaningTutorials.net - Your Cleaning Solutions
images borrowed from cleaningtutorials.net


Add our jar accessories to make it PRETTY and consider painting the jars with our chalk paints, and our DIXIE BELLE paints.  We have brushespro brushes, and sanding tools

DIY Mason Jar Succulent
Colorful faux succulents from Stacey Turner Creations 

Have fun getting SPRINGY


Friday, December 7, 2018

Perfect for Gift Giving

Let's make a beautiful gift box!

Today's project is a great upcycle using sturdy packaging from a recent purchse I made.  It is very much like a circular wine bottle "box", but a bit shorter.  It will be great for odd shaped gifts or plyable type gifts like a scarf, kitchen towel or a cute pair of fuzzy socks.  So, let's get started...

Here is what we started with.
YOU can see the complete supply list & links at the bottom of the post.

Here we have the first layer of vintage text pages decoupaged onto the surface.
Next, I dry brushed ivory colored chalk paint, added a bit of black chalk paint here and there, then the final layer was a thin coat of gold metalic using my gold metallic Gelato.  I was going for a worn, vintage look. 
Then, it was time to decorate the lid.  I added more gold metallic, laces, big chunky glitter and die cut snowflakes that I painted white and added more chunky glitter to.  I initially thought I would use a pretty glittered Prima flower on the lid (seen in the top pic here), but decided on the glittered snowflakes. 
 
Now, it was time to add my digital images.  For the back of the box I cut out a number of smaller vintage Santa images and decoupaged them in a random pattern.  I then added more glittered snowflakes.  You can see in the image below that I added beaded trim to the lid of the box...you can never have too many embellishments! 
And here is the front again with a much larger focal image of a very cheery St. Nicholas and a cute little angel peaking over his shoulder...along with a few more glittery snowflakes to tie it all together. 
I hope you are inspired to upcycle your own creation!
DIY Design Studio has everything you need to do just that!
Happy Holidays and Happy Crafting! 
Steph S. 


Supply List -
Santa Brings Cheer Digital Art Collage
Embellishments, Lace and Trims 
PPA glue
Vintage law books  for text pages
Chalk Paint -primitive
Chalk Paint - relic
Gelato Metallic - gold 
Die cuts and other embellishments


Wednesday, April 26, 2017

playing the frame match game

Do you like handmade papers? I have a pair of framed papers with tiny pressed plants in them, and they have been requesting an upgrade for quite a while.  To make a wall grouping, I decided to add a framed chalkboard piece--all with a bit of DIY help, of course.
For this project, I used some painters tape, Americana Chalk Finish Paint for the frames, some Crème Wax coating, and for the plain glass-turned-chalkboard, DecoArt Chalkboard paint.
The handmade papers are properly framed, with sealed backings, and I really didn't want to go to the worry of dissecting and then reassembling them just to paint the frames.  So, I outlined the glass with painter's tape.  You can see the overlap, which was then trimmed with a razor blade.  Below, you can see the trimmed edge.
A simple coat of paint, and a layer of protective Crème Wax finished off all three frames.  The only slight delay was the chalkboard paint--it takes four days to cure, and then a brief baking in an oven.
All in all, I'm very pleased with this trio's upgrade.
:)trisha

Wednesday, April 19, 2017

Tiffany-ized Silver Dish

Tiffany is the height of glamour and class. 
This rescued, vintage, silver dish was Tiffany-ized.

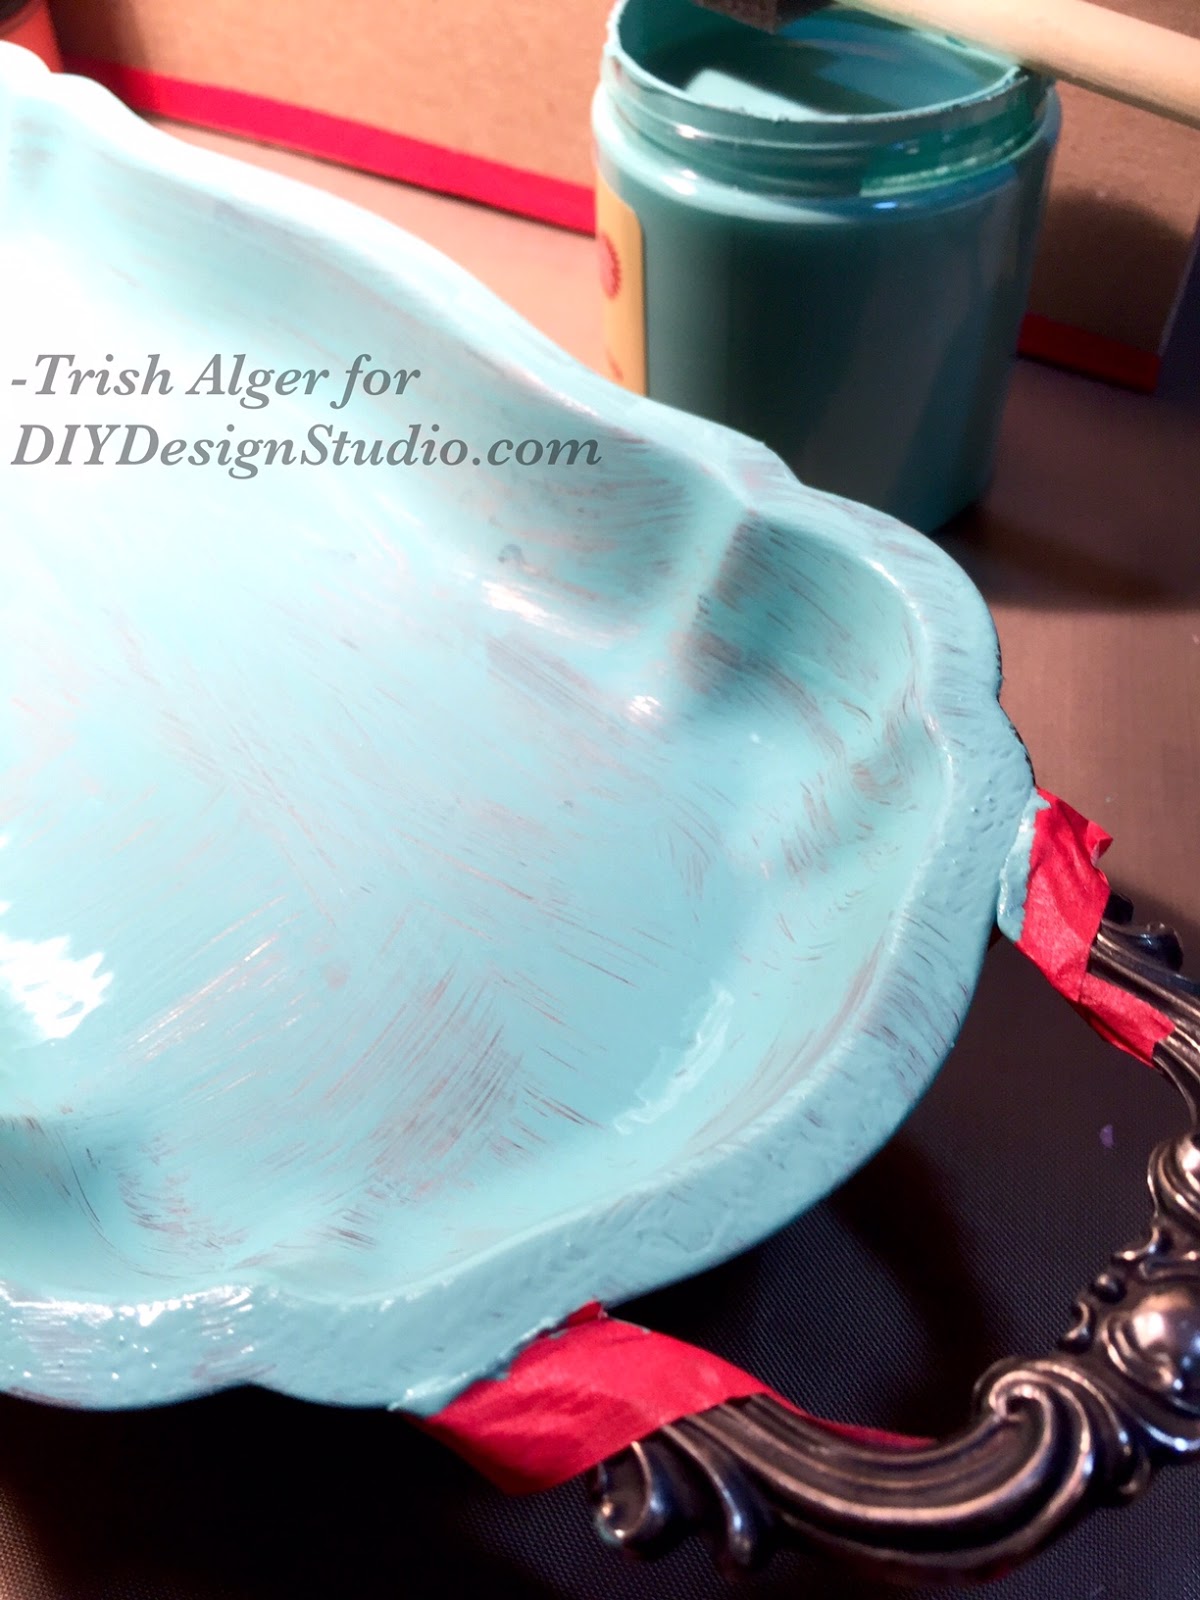
Using Dixie Belle "The Gulf" Paint, paint tape, chip brush, and Dixie Belle Satin Clear Coat Sealer this dish was rescued from the bin.

It had little to recommend, besides the great handles and legs and the overall shape of the dish.

I taped off the legs and handles.

The Gulf color was the closest to Tiffany's unique blue. Coat number one:

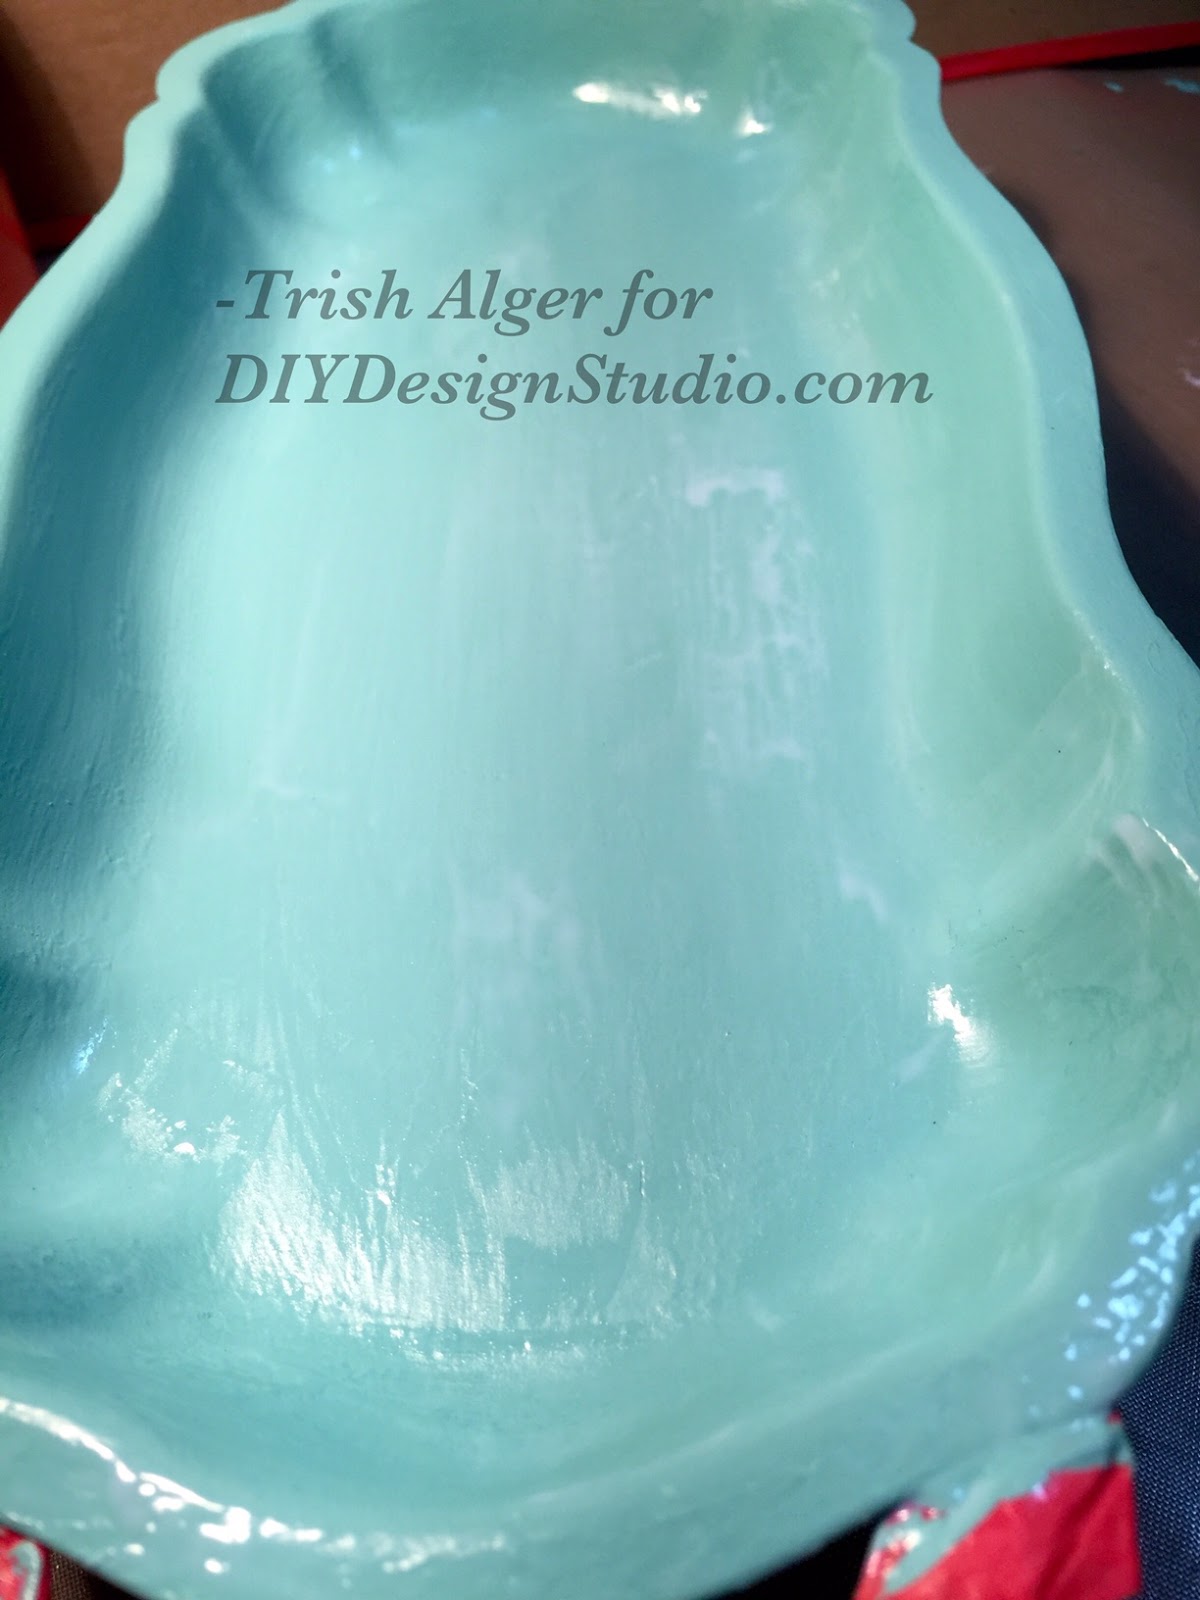
I wanted full coverage, so I waited for the 1st coat to dry and added another:

Three thin coats did the trick. You can always sand down areas that are too thick.

I wanted a water resistant surface so the sealer was the next coat:

This is so forgiving. The sealer brushes on nicely and dries clear and fairly matte.

Here is the big reveal:

Another angle:

One with pearls, as befitting Tiffany:

Did you notice the color? Did it remind you of any other  recent projects in that color range? Yeah, that's right...it will be part of my office set---still to be complete. Stay tuned!!

Thank you for taking a gander.
Ciao for now,
-Trish Alger

Wednesday, March 15, 2017

Desk Set Rescue "WIP"

This project is a WIP-Work In Progress. Last month I gave a sneak- peek of a calendar to go with the updated frame I painted. Here is the next step in the process.


Here are a few more items painted to eventually be part of my desk set. I rescued a few containers from the recycling bin for my project.


I used Dixie Belle Sea Glass... 


and Buttercream.


Along with the Alligator Stencil for some visual texture and interest.


Next month will reveal more on this project. 


Thank you for your interest and comments.

Ciao for now,
-Trish Alger


Wednesday, February 22, 2017

Updating a Tired Old Frame

Have an old frame that needs a color facelift? 
Let Dixie Belle Mineral Chalk Paints work their magic.

Using Sea Glass and The Gulf with a light swipe of Best Dang Wax Clear, at the end; I was able to transform this tag sale frame for my next DIY project.


Here is the frame, after a wipe-down with a damp cloth.


A light coat of Sea Glass with a chip brush.


I used a dried, used, chip brush to scrape off back to the original color; in just a few places. 
(It's easier when the paint has dried to the tacky stage).


Haha, I forgot to remove the sticker from the sale.


I mixed a little of the Sea Glass into The Gulf for a custom color.


I used the same used and dried brush to scrape on the new custom color in places.


When it completely dried I used a soft paper towel to add a light coat of the wax, wiping off the excess. It can be buffed to a great shine.


Here you can see where I used the leftover custom paint.
This will be part of a DIY project you will see in a future post. Hint: think office organizing!


If this post has been helpful for you, please let us know.

Ciao for now,
-Trish Alger


Wednesday, October 26, 2016

reDIY of a DIY--flea market find blanket chest

I love flea market finds!  I'm a complete sucker for the 75% off booths, which is where this blanket chest originated.

You can tell from the tape measure that it's a pretty good size, and it's been painted with a crackle finish. 

Ask me how much it cost.

It was $3.75!!!  
Admit it.  You would have bought it for $3.75, too, right?

Anyway I want it to be red, so get out the chalk paint . . . 
It's just a coat of red, with a creme wax coating, but the crackles and the blue beneath make it look like I really worked on it.  Kind of like stealing the effect from someone else's DIY efforts, so a thank you to the original blue painter person!  I suppose the lesson here is, don't be afraid of a previous DIY.  If you don't like previous DIY, just reDIY it.

We've been hunting for a chair for this spot, but until then, this $3.75 find has lots of storage and is sturdy enough to use as a bench.  (It's currently full of blankets and the daughter's coloring books/colored pencil stash.)


ZEN for me.

I chose to recycle a canvas box frame for my project.  I got this after Fall/Christmas for clearance at 90% off, so it was ninety cents!   Y...