Showing posts with label Dixie Belle Clear Coat. Show all posts

Wednesday, April 19, 2017

Tiffany-ized Silver Dish

Tiffany is the height of glamour and class. 
This rescued, vintage, silver dish was Tiffany-ized.

Using Dixie Belle "The Gulf" Paint, paint tape, chip brush, and Dixie Belle Satin Clear Coat Sealer this dish was rescued from the bin.

It had little to recommend, besides the great handles and legs and the overall shape of the dish.

I taped off the legs and handles.

The Gulf color was the closest to Tiffany's unique blue. Coat number one:
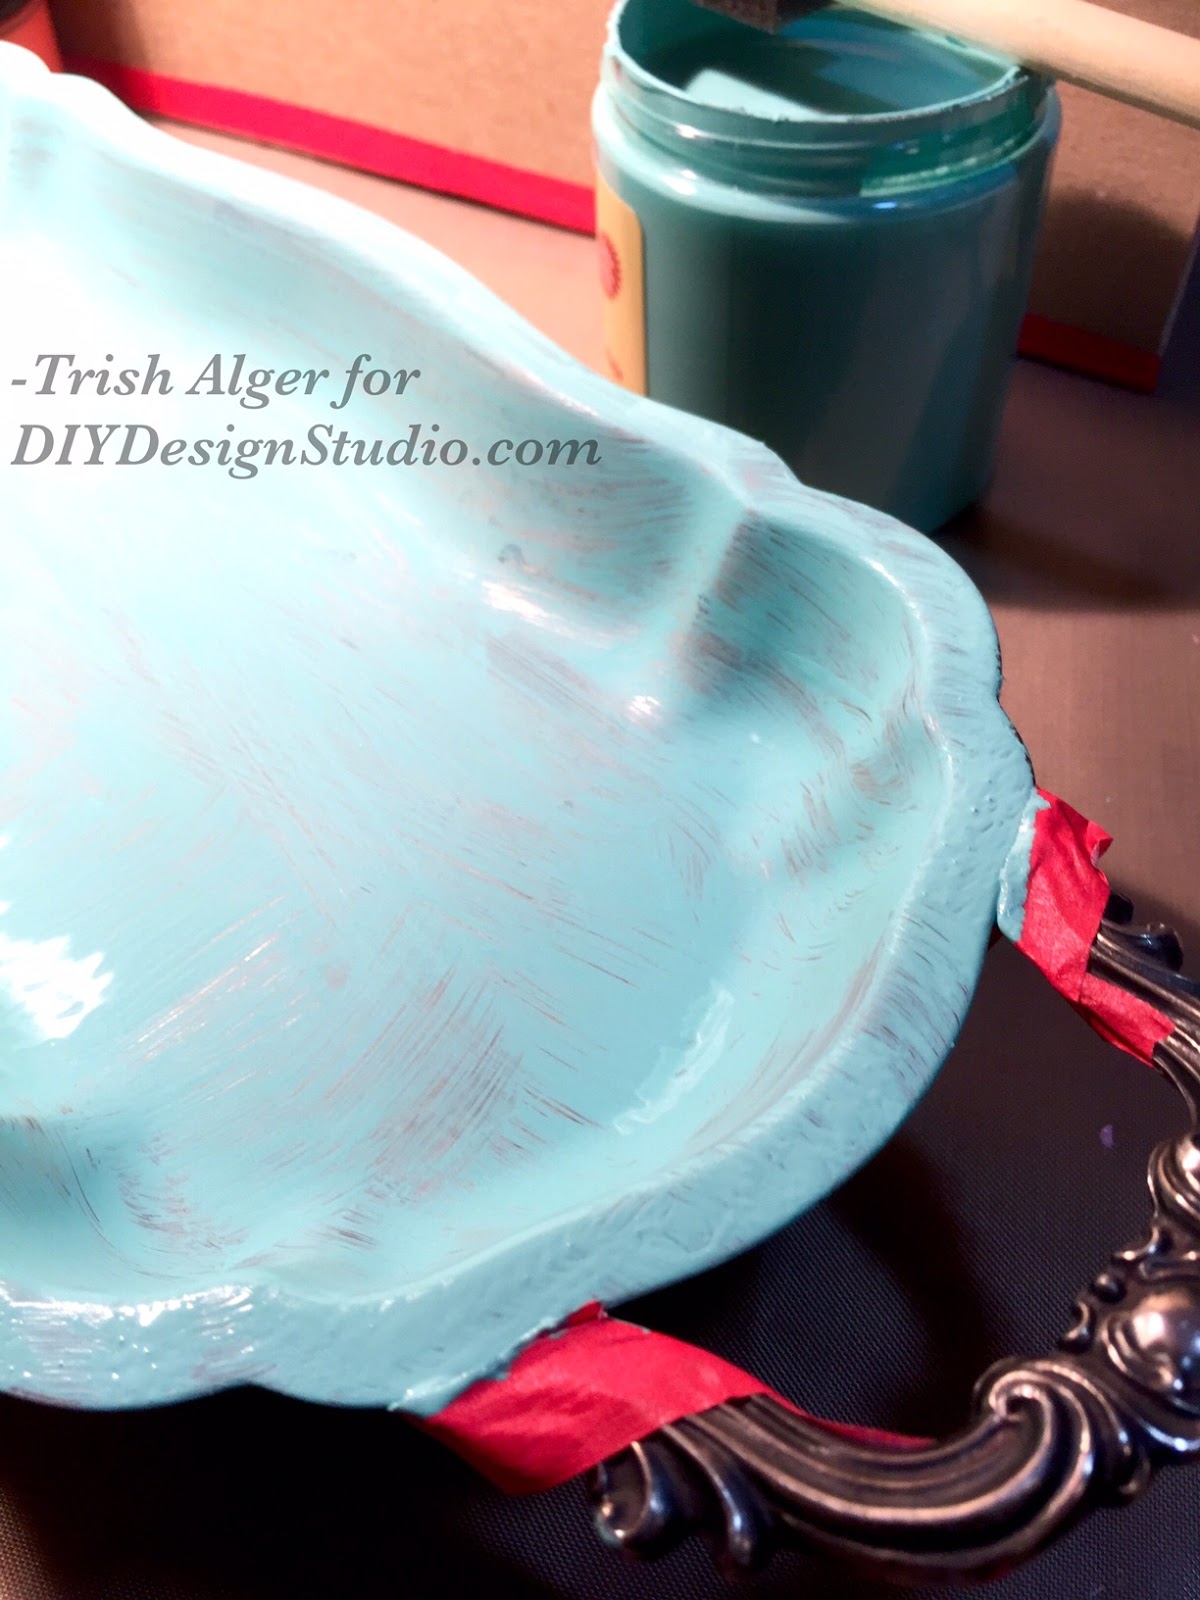
I wanted full coverage, so I waited for the 1st coat to dry and added another:

Three thin coats did the trick. You can always sand down areas that are too thick.

I wanted a water resistant surface so the sealer was the next coat:
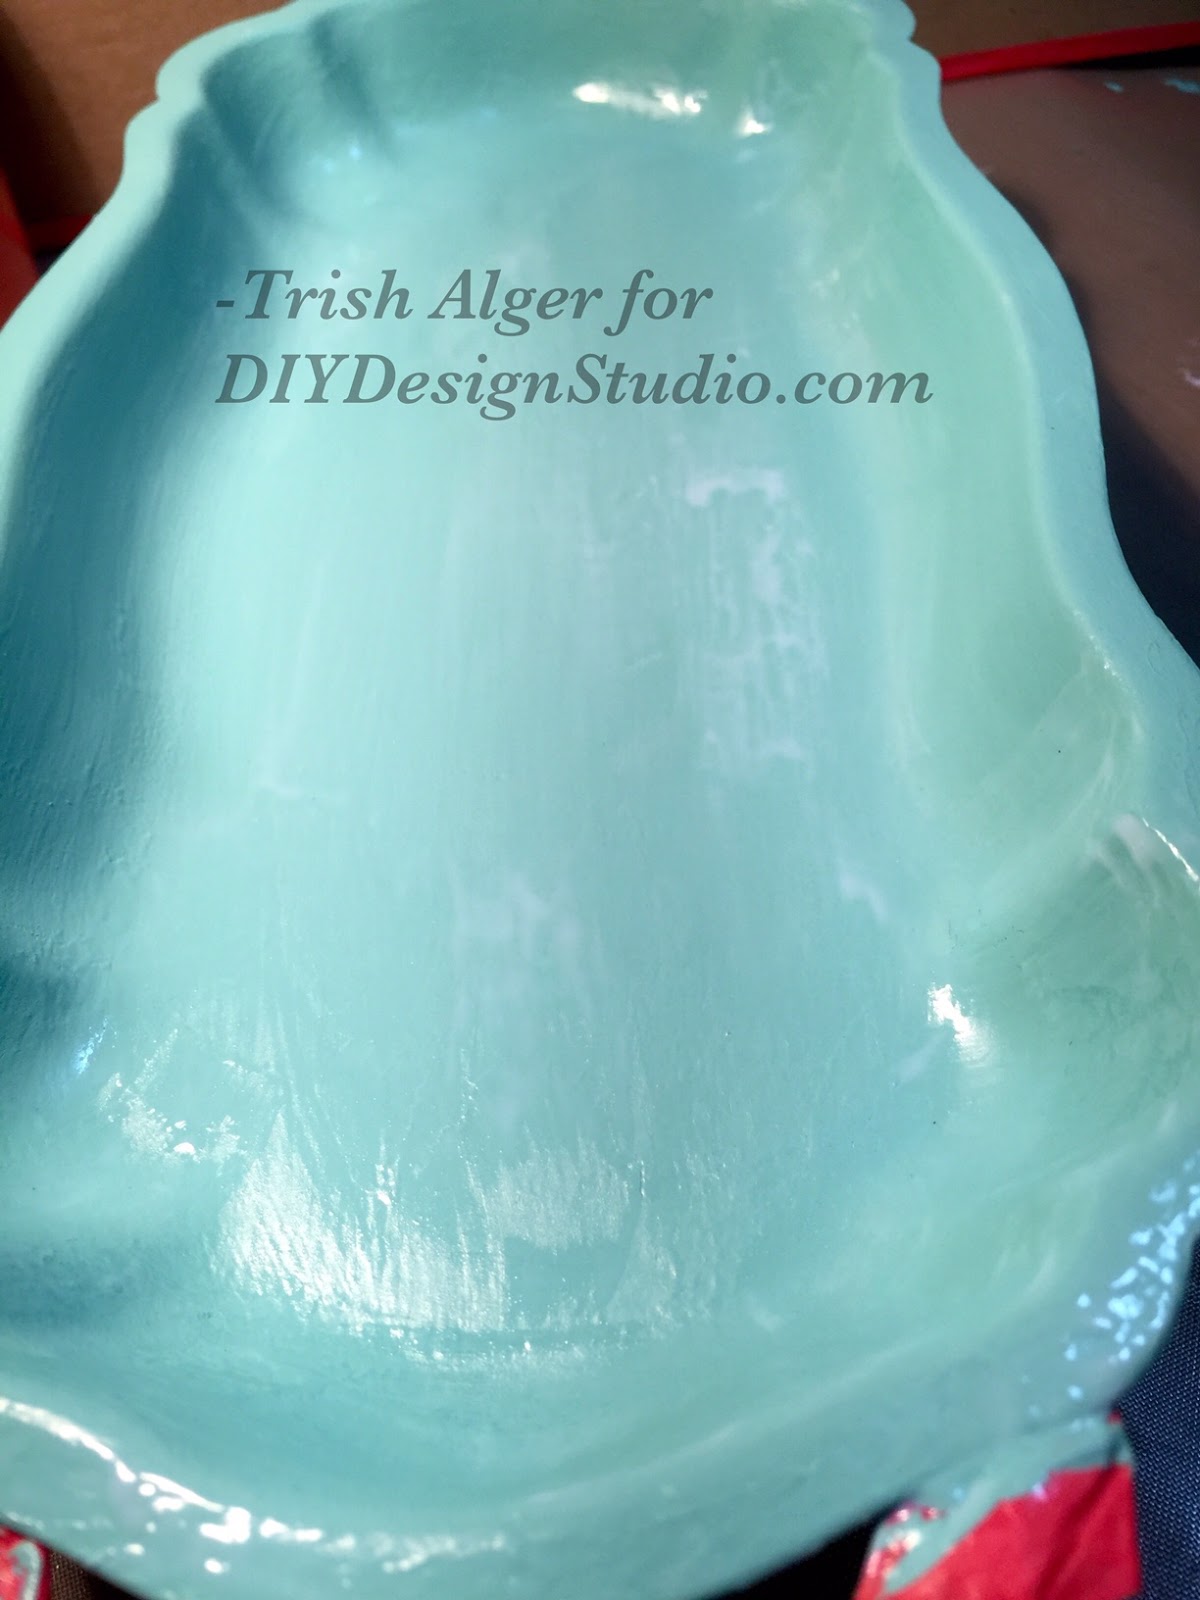
This is so forgiving. The sealer brushes on nicely and dries clear and fairly matte.

Here is the big reveal:

Another angle:

One with pearls, as befitting Tiffany:

Did you notice the color? Did it remind you of any other  recent projects in that color range? Yeah, that's right...it will be part of my office set---still to be complete. Stay tuned!!

Thank you for taking a gander.
Ciao for now,
-Trish Alger

Wednesday, October 12, 2016

Fun and Funky Lamp Redo

Welcome DIY'ers!   


Today I am transforming a tired old lamp using Dixie Belle Paints. Join me in this quick tutorial and learn how you can give new life to an out dated old lamp. 

I began with a very beautiful lamp.  It was actually one of my favorite pieces when my house was decorated in the Old World Tuscan look.  I unfortunately, forgot to click a quick pic before I started painting.  The lamp was originally dark, gold guilded and very old Mediterranean style.  It holds a special place for me so when it no longer matched my current design trend I thought let's just make it fit as I just could not stand parting with it.  So, here you see it with the base coat of Dixie Belle Chalk Paint in Gulf,  still very pretty, but not quite what I was after as it was a little vibrant for what I was going for. 

 Next, I began sanding it using these amazing sanding sponges
   
 I then added a coat of Grunge Glaze. I painted it on using these great chip brushes and wiped away the excess with paper towel.  I cannot even tell you the difference the Grunge Glaze made...no need to clear coat, wait, what? Skip a step? Yes, that is what I said. If you desire the added protection of a clear coat, however, then please use this satin clear coat sealer. You will not be sorry.


I am so very pleased with this Dixie Belle redo.   
I can't wait to get my hands on the next one! 

Thanks for stopping by!
Steph S. for DIY Design Studios

Wednesday, August 17, 2016

Dixie Belle Self-Portrait Transfers

Hello, Trish here. I'm so excited to share my first DIY Design post with you.
As an artist I've always intended to do a true self-portrait, but frankly I'm terrible at selfies and kept putting it off. Then I read a book about the importance of family portraits and wondered, "why not?"

I read that chalk paints make the best transfer surface and well we here know what the BEST chalk paint is, right?!


The supplies are so easy peasy:
Dixie Belle Chalk Paint   
Dixie Belle Clear Coat Sealer    
Dixie Belle Grunge Glaze 
Stencil 
Substrate (such as a canvas or piece of wood )  
Toner copy of YOU!

I chose a couple of selfie pics that I did not hate, printed them in mirror format on my printer, THEN took them to a store to copy in black and white on a toner cartridge printer. (Very important to use a toner copy!) Trim out the excess...


I just happened to have these little canvases to try it out with. I also tried it on foam board and it worked fine.

Decide which awesome Dixie Belle Chalk Paint to use. I chose Buttercream. Placing the image face down in the WET paint. Brayer and rub it into the paint to smooth out.


Wait to dry completely. Does not take long. Wet your fingers and rub slowly and gently in a circular motion to rub off the top layer of paper.


I happen to love the imperfections, but if it would make you crazy...then start from inside edges first and go very slow. Keep it damp and eventually you will emerge.


Now, I did not wait for it to completely dry before I added the Dixie Belle Grunge Glaze and then the Dixie Belle Grunge Glaze and I payed for it later. I still had some small bits of paper left, but now it was trapped beneath product. 
Cie la vie!

Here it is with the glaze:


After the clear coat:


Of course I had to jazz it up a bit, using a stencil.


Just a touch though and added the year the photo was taken with a paint pen, because I'm sure I will forget.


Well, that sure was fun! Thank you for following along.
See ya next time with more DIYDesign Studio fun.
-Trish Alger


ZEN for me.

I chose to recycle a canvas box frame for my project.  I got this after Fall/Christmas for clearance at 90% off, so it was ninety cents!   Y...