Do you like handmade papers? I have a pair of framed papers with tiny pressed plants in them, and they have been requesting an upgrade for quite a while. To make a wall
grouping, I decided to add a framed chalkboard piece--all with a bit of DIY help, of course.
For this project, I used some painters tape, Americana Chalk Finish Paint for the frames, some Crème Wax coating, and for the plain glass-turned-chalkboard, DecoArt Chalkboard paint.
The handmade papers are properly framed, with sealed backings, and I really didn't want to go to the worry of dissecting and then reassembling them just to paint the frames. So, I outlined the glass with painter's tape. You can see the overlap, which was then trimmed with a razor blade. Below, you can see the trimmed edge.
A simple coat of paint, and a layer of protective Crème Wax finished off all three frames. The only slight delay was the chalkboard paint--it takes four days to cure, and then a brief baking in an oven.
All in all, I'm very pleased with this trio's upgrade.
:)trisha
Showing posts with label Trisha Neal. Show all posts
Wednesday, April 26, 2017
Wednesday, January 25, 2017
DIY travel themed map bunting
Follow us on Bloglovin!
I helped make the decorations for the new grandson's baby shower a few months back. It had an adventure/travel theme, which was the perfect opportunity to use the old atlas I'd been hoarding for, ahem, at least a decade. No joke, I made the flags for this map bunting while sitting in the car! However, the pics I took then don't seem adequate now, so I've added a few for clarification.
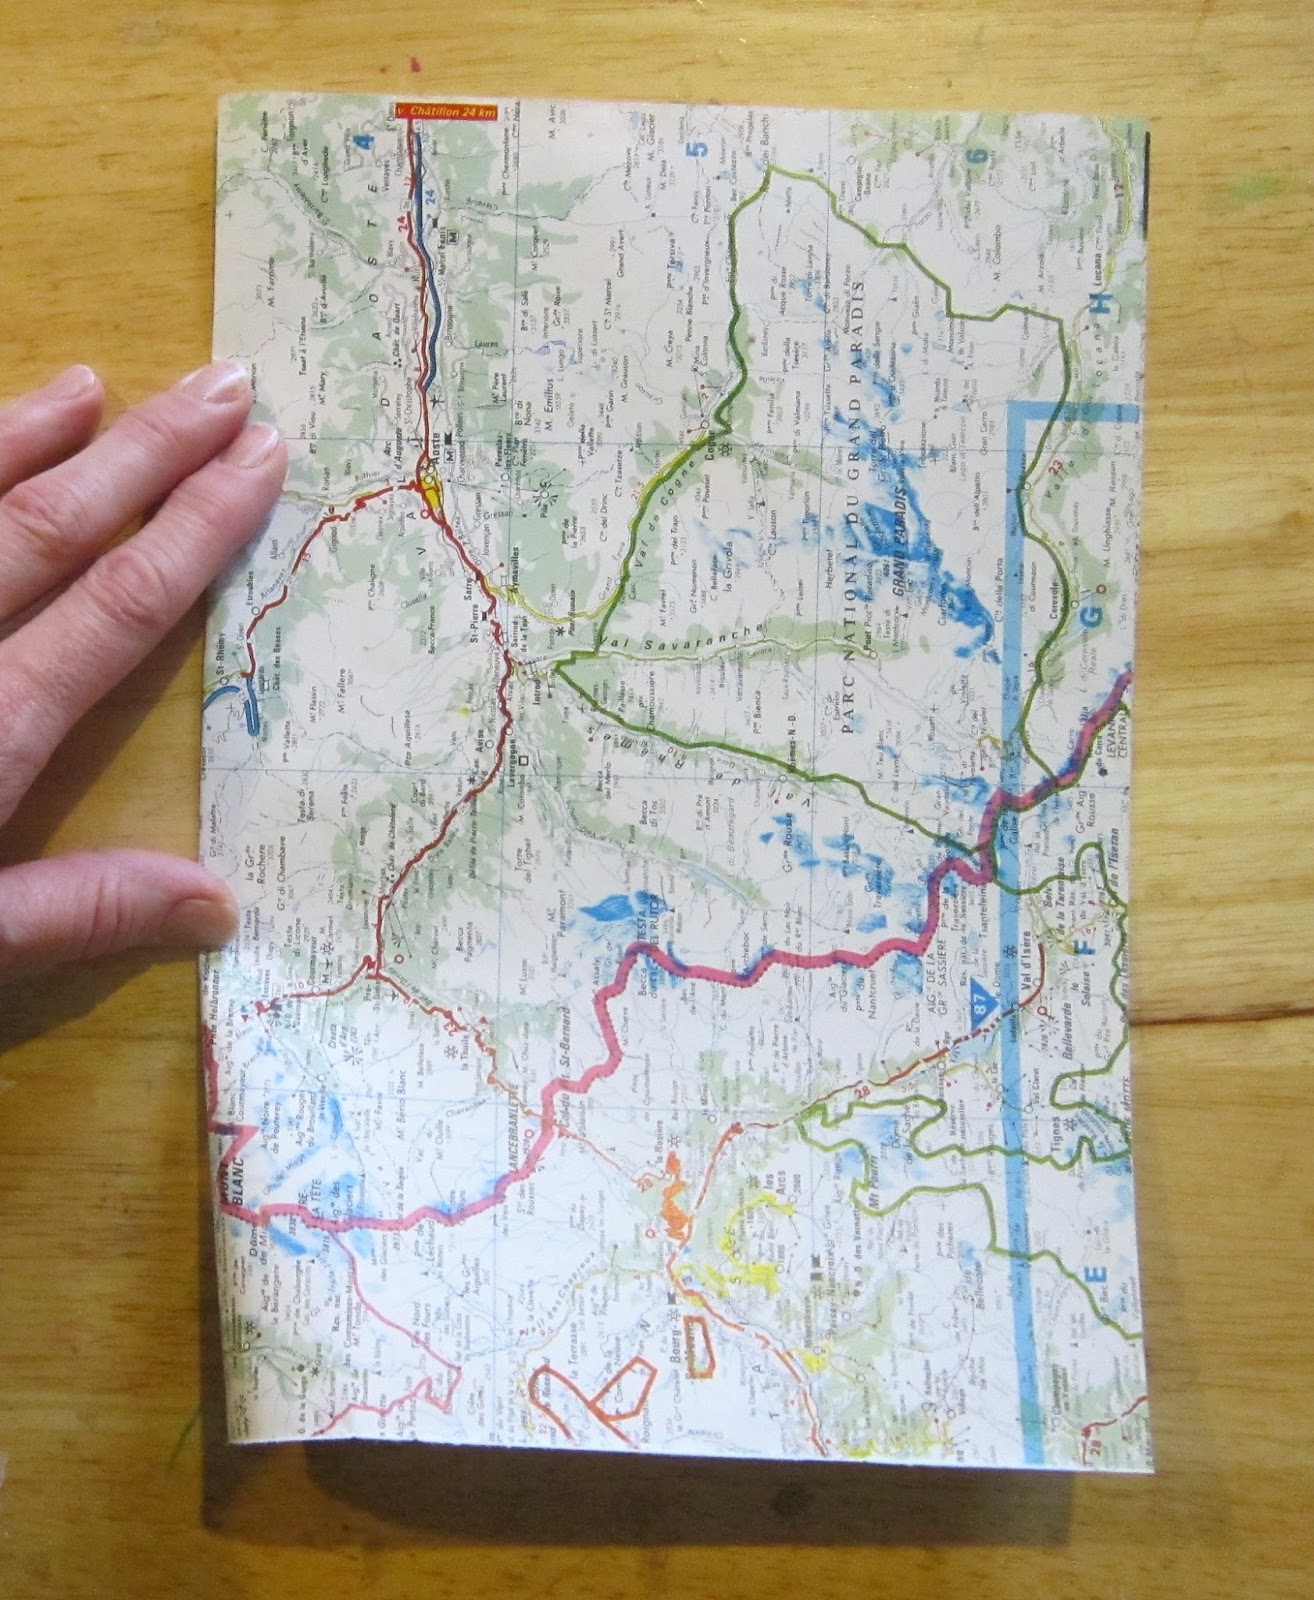
First, I tore out pretty much all the pages of the atlas, which were quite large.
I FOLDED each whole page in half:
trimmed up any rough edges, and then CUT each large half into two smaller pieces, fold at top.
Each smaller, folded piece, I gave a little crease in the center at the OPEN shorter edge--this will be the bottom tip of the flag. It will leave just enough of a mark that you can see it to cut by. At the top of the flag is the fold, which will sandwich over some jute to make the lengths of bunting.
Line up the top corner of the flag with the crease, which marks the center tip, on the paper cutter. Repeat on the other side, leaving the flag triangle. Again, at the top is the fold, which will be hung over jute and glued together to make the lengths of bunting.
Open the flag, sandwich in the length of jute or twine at the top, and gluestick the flag together, folding it back over itself.
![]() |
This was the calm before a million people showed up for the shower. It was crazy! |
Here are the buntings at the shower. Now, they're hanging in the baby's nursery. You can see more baby shower decorations, and baby nursery pics in the next post . . . see you there!
Wednesday, October 26, 2016
reDIY of a DIY--flea market find blanket chest
I love flea market finds! I'm a complete sucker for the 75% off booths, which is where this blanket chest originated.
We've been hunting for a chair for this spot, but until then, this $3.75 find has lots of storage and is sturdy enough to use as a bench. (It's currently full of blankets and the daughter's coloring books/colored pencil stash.)
You can tell from the tape measure that it's a pretty good size, and it's been painted with a crackle finish.
Ask me how much it cost.
It was $3.75!!!
Admit it. You would have bought it for $3.75, too, right?
Anyway I want it to be red, so get out the chalk paint . . .
It's just a coat of red, with a creme wax coating, but the crackles and the blue beneath make it look like I really worked on it. Kind of like stealing the effect from someone else's DIY efforts, so a thank you to the original blue painter person! I suppose the lesson here is, don't be afraid of a previous DIY. If you don't like previous DIY, just reDIY it.

Wednesday, August 3, 2016
DIY DESIGN STUDIO's First Design Team!
Here at DIY Design Studio™
we are proud to introduce
our first talented team
of DIY designers!!!
Trish Alger
Trisha Neal
Stephanie Siatta
Lyneen Jesse
and
Jean Moore

TRISH ALGER of Texas
Currently I reside in Central Texas, with my husband of 31 years and grandmother of six. A mixed-media artist active in our local art community; a BFA student and hobby-esque writer. I enjoy instructing others that there is an answer to the question “can I,create that?”…YES you can!
You will find more of Trish's art at the following links:
My portfolio on Pinterest: https://www.pinterest.com/chicknscratch/trish-algers-creative-portfolio/
Photos on Instagram: https://instagram.com/chicknscratch/
Daily video on Periscope: https://www.periscope.tv/chicknscratchaz
Twitter: https://twitter.com/ChicknscratchAZ
Tumblr: https://www.tumblr.com/blog/justchickenscratch
TRISHA NEAL of Missouri
Thanks to my dear mother, who kept the house well stocked in art supplies and good art books, and who set the example by continually working on different art and craft projects, taking me to galleries, art shows, and on forays to the art supply store, I have an undeniable, ingrained love of all things art.
Thank you very much to DIY Design Studio™ for this opportunity; I enjoy working with the creative and talented design team.
Please stop by sometime at: http://easilyamusedhardtooffend.blogspot.com
STEPHANIE SIATTA of Arizona
I am so pleased to be able to use my art talents in a FUN and productive manner at DIY Design Studio™. I am a wife. Mom to 2 kids growing up too fast and an artist. Like so many of us, I have worked at things that did not allow my truly creative side to be alive, but now I can! I still have my home based job of medical transcriptionist to pay for my art/craft supplies!
I love mixed media, assemblage, watercolor, acrylics, DIY projects to refinish old things into upcycled or recycled treasures. I have my grandmother's bedroom dresser and vanity bought in 1948 and it is still being used in my bedroom! You can't buy them like that anymore. However it has changed colors. been stripped, stained, redone and looks great AGAIN! I guess that's how I feel sometimes, strip away the old, see the new.
LYNEEN JESSE of Washington
I began creating during my youth with my siblings under the guidance of our mother making gifts for grandparents. Mom always kept a "make it box" with art supplies. We would dabble in frosting when she decorated cakes. At one time, I even competed in cake decorating. As time passed my medium of choice was paper. I love ephemera, vintage embellishments and pattern paper, which may be out of control! Rubber stamping has been a love of mine since before rubber stamping was popular. I am the proud owner of thousands of stamps. Like many I found other mediums to work into paper crafting and my style has evolved over time. Assemblage, altered art and vintage have become some of my favorites. I teach classes at local shops, there are three pieces of advice I like to pass on to my students, “There’s no right or wrong way to create!” "You never make mistakes, only opportunities." And “You are your own worst critic!”
In my spare time you will might find me in craft stores, antique or thrift shops, yard sales and auctions always on the hunt for old paper, buttons, lace, ephemera and anything else that might be useful in future projects! I have been published in several issues of Rubber StampMadness, Take Ten, Stampers Sampler, West Sound Home&Garden, The Best of Stampington & Company HandCrafted Vol.7, severeal JUST Steampunk publication's and more. Find more of my art on my blog: http://dreamingofcastles.blogspot.com/
JEAN MOORE of Arizona
Jean has always been involved in art and crafts (as so many of us have). From paper to painting to clay to professional interior designer, it’s been color, texture and a love of all things beautiful. Transplanted from the East Coast to Arizona provided a new look at the beauty of America.
Kindness is the utmost importance, support and sharing good things make the world go round! Jean is recognized for insisting on the BEST customer service and encouraging Design Team members to do their very best. Without great customers and a solid Design Team, there would be no companies.
Words that paint a portrait of Jean; Determined, effective, adaptable, dedicated, caring and efficient.
www.DiyDesignStudio.com
www.alteredpages.com
www.mailboxmuse.com
http://alteredpages-artsociates.blogspot.com
HELP US WELCOME THIS FABULOUS TEAM!
Stop by tomorrow for our first official design team post!
Subscribe to:
Posts (Atom)
ZEN for me.
I chose to recycle a canvas box frame for my project. I got this after Fall/Christmas for clearance at 90% off, so it was ninety cents! Y...

-
Look, let me tell you right now, I did not make this. But I love it, so I'm going to share it with you, yes? And it clearly once again...
-
I chose to recycle a canvas box frame for my project. I got this after Fall/Christmas for clearance at 90% off, so it was ninety cents! Y...
-
As first time grandparents-to-be, we recently hosted a gender reveal party for our second son and daughter-in-law. Are you ready? There ar...