Showing posts with label Dixie Belle Best Dang Wax Clear. Show all posts

Thursday, May 18, 2017

Refab-ulous Table

Let's take a table with some miles on it and make it look this fabulous.
Dixie Belle Paints rescued this well-loved wooden table.
Love the lines.
Here is the underside, after removing all of the parts:
Yep, the top of the table had a long crack in it.
Wood glue to the rescue.
Love the softness of the Buttercream.
Looking good.
A close up:
Realized there was an uneven place after gluing, so I added some Dixie Belle Swamp Mud to fill in the gaps. Sanded it down and painted a thin layer of paint over it. 
(YES, I placed the Swamp Mud over paint. These products are amazing!)
While the table top rested I did some rust cleanup. The hardware was all rusty, some vinegar in a bottle overnight did the job.
Looking pretty good now:
The smaller wooden pieces need some TLC next. See the piece in my vise? Yeah, we had another hidden crack.
Next up is the distress phase using the sander.
Love the way these curves look. Distressed and not:
Then a thin layer of Best Dang Wax over every part.
Thin layer of Grunge Glaze completes the look. You can see the difference against the bright table top:
Lastly another light layer of wax buffed on.
As I assembled the parts:
All together now:
The effect was spectacular:
This was great fun and the next large project awaits. I hope you enjoyed the process as much as I did.
Thank you and ciao for now.
-Trish Alger


Wednesday, February 22, 2017

Updating a Tired Old Frame

Have an old frame that needs a color facelift? 
Let Dixie Belle Mineral Chalk Paints work their magic.

Using Sea Glass and The Gulf with a light swipe of Best Dang Wax Clear, at the end; I was able to transform this tag sale frame for my next DIY project.


Here is the frame, after a wipe-down with a damp cloth.


A light coat of Sea Glass with a chip brush.


I used a dried, used, chip brush to scrape off back to the original color; in just a few places. 
(It's easier when the paint has dried to the tacky stage).


Haha, I forgot to remove the sticker from the sale.


I mixed a little of the Sea Glass into The Gulf for a custom color.


I used the same used and dried brush to scrape on the new custom color in places.


When it completely dried I used a soft paper towel to add a light coat of the wax, wiping off the excess. It can be buffed to a great shine.


Here you can see where I used the leftover custom paint.
This will be part of a DIY project you will see in a future post. Hint: think office organizing!


If this post has been helpful for you, please let us know.

Ciao for now,
-Trish Alger


Wednesday, December 14, 2016

Dixie Belle Wooden Crock Redo

The rusty and neglected call to me. They must be repurposed to a life of tangible value yet again...
This is why I have a growing stash of other's castoffs.
Time for a Christmas Season DIY redo:


I loved this wooden crock when I first spied it at a tag sale.


I mixed some Swamp Mud and a bit of Gulf chalk paint.


I scraped it across a snowflake stencil I created last year. 


**Remember NOT to wash the Swamp Mud into your plumbing. Wipe off with paper towels and dispose in trash.

Using a chip brush I covered the outside of the crock and lid with Fluff chalk paint... 


No perfection required, very forgiving products.


I let it dry and painted another coat.


Using a fine grit sandpaper I sanded back to some of the Gulf color on the snowflakes and distressed back to the wood in other areas.


Taking a dab of the clear paste wax I rubbed it in all over the painted areas and then buffed with a soft, lint-free cloth.


Finally a thin coat of the gold glaze over the wax coat adds just a bit of shimmer; it floats the glaze color.


So easy peasy and yet looks like you spent hours on it. Fill with cookies or other treats to give as a hostess gift or display on your table with greenery in a tablescape.


Let us know what DIY you have created this season, we'd love to see it.
Ciao for now,
-Trish Alger


Wednesday, September 21, 2016

Christmas Tree Card Hanger

Christmas is on its way and a DIY Christmas card holder was in order. 


Using the following you too can create a cute and easy-peasy project to use or to gift.

Wood and Chicken Wire Tree  
Dixie Belle Chalk Paint in Fluff  
Dixie Belle Glaze in Gold  
Dixie Belle Best Dang Wax in Clear  
Tiny Cute Clothespins

I  taped off the chickenwire, painted the wood portions of the tree with the Fluff paint, and let dry.


Then I lightly sanded-down the small bits of wood that swelled and splintered from the paint and added some gold glaze.


After the glaze dried I used a soft cloth to rub on the clear wax in a small layer and after letting it set for an hour I came back and buffed it with the same cloth.


Such an easy project with a cute utilization.

There is so much more you could add yourself to personalize it. Let us know what you create!
Ciao for now,
-Trish Alger

ZEN for me.

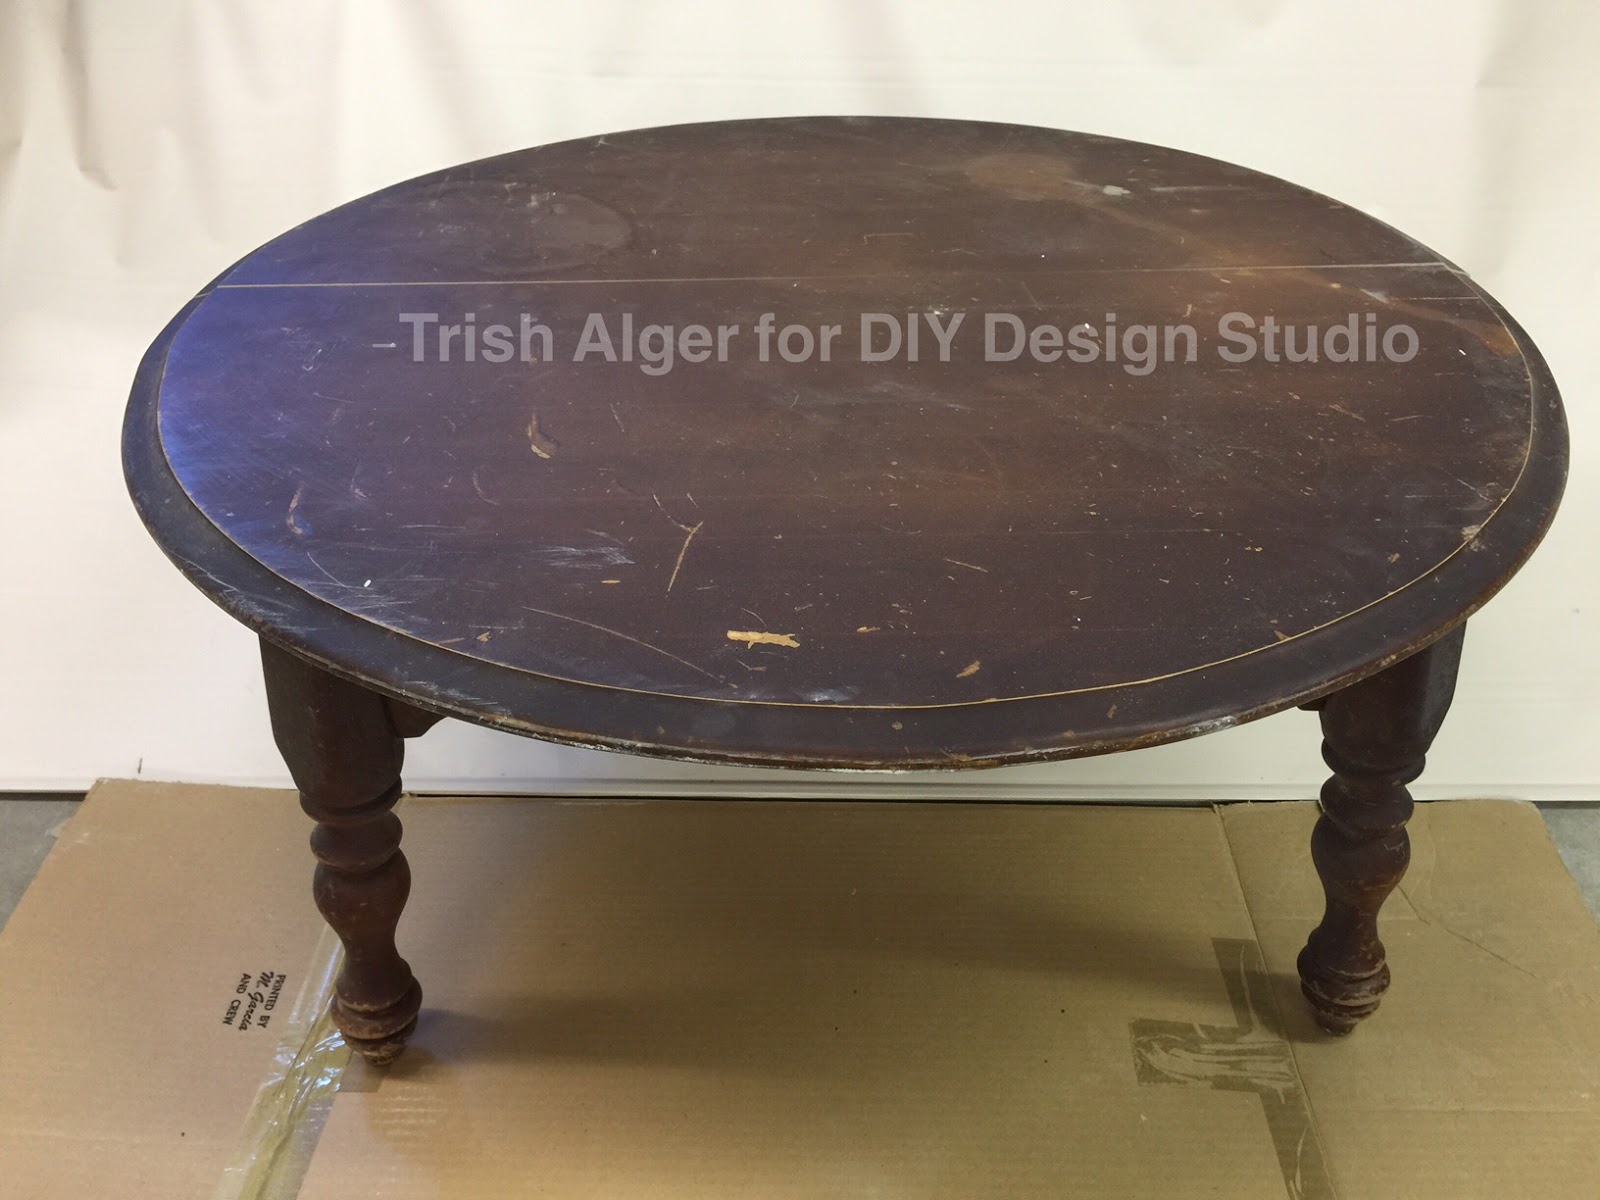
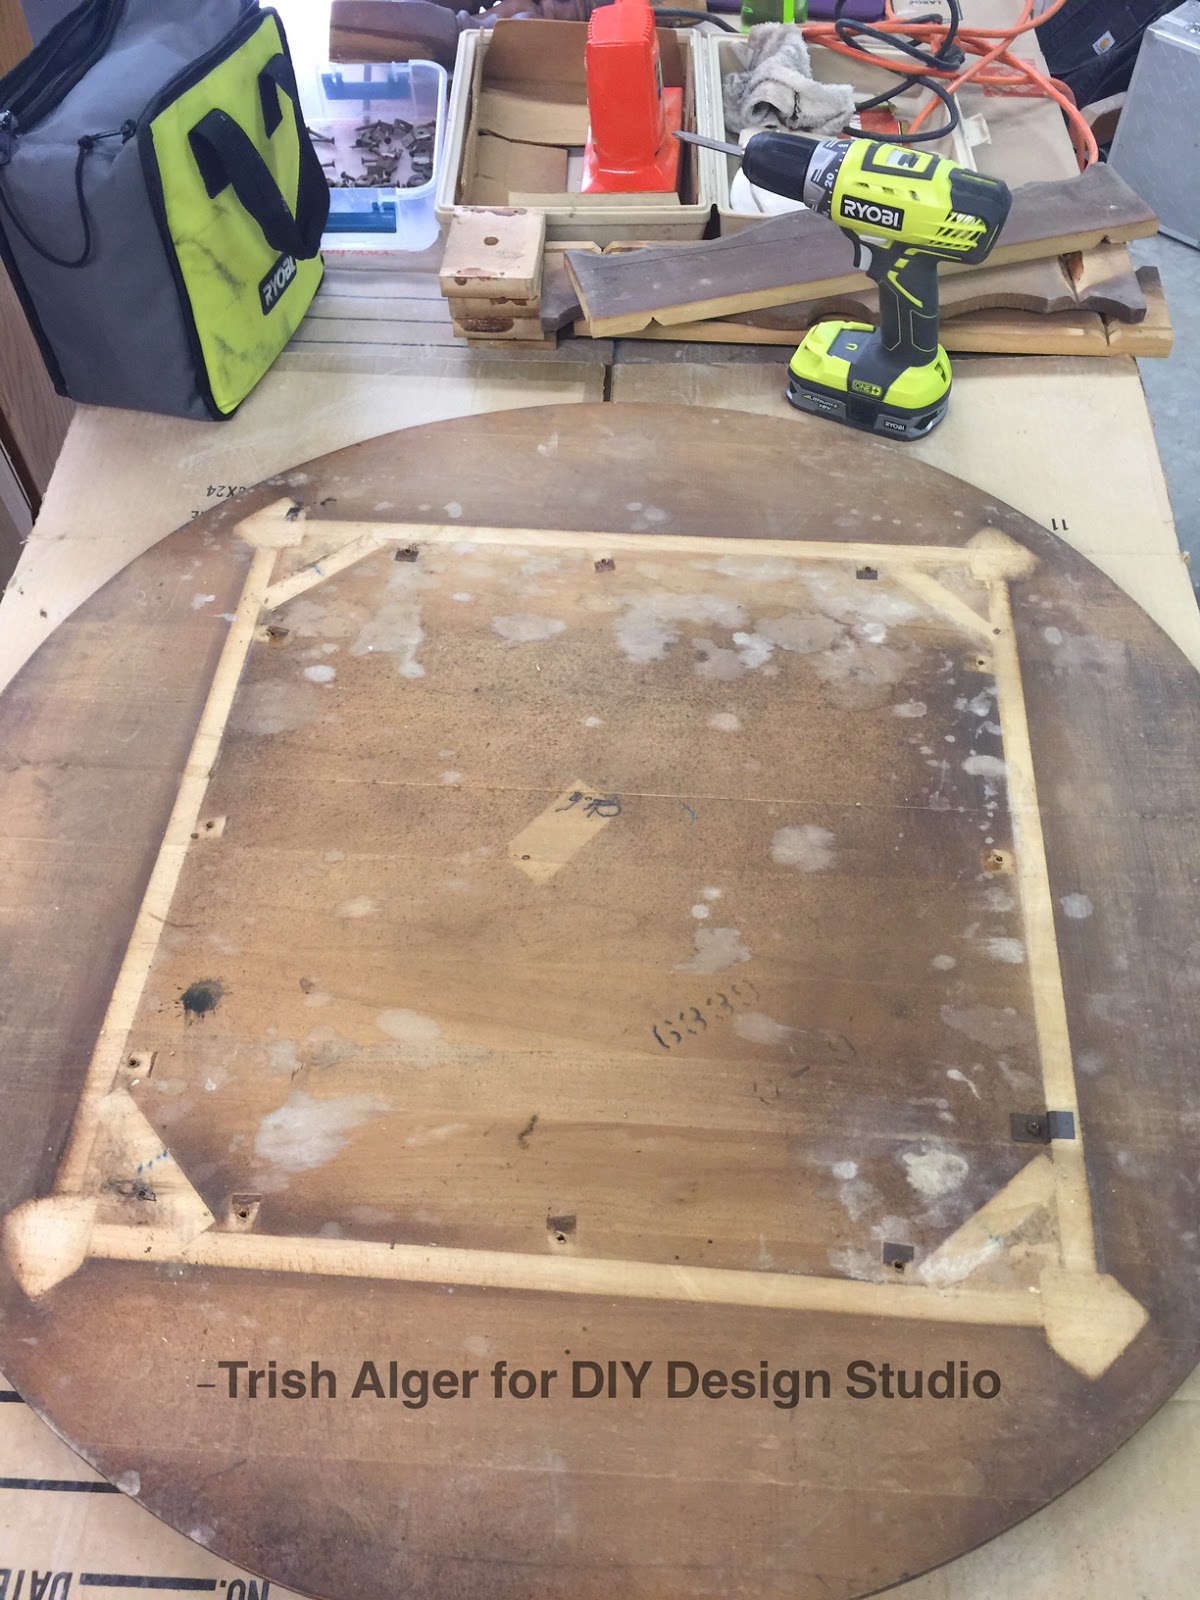
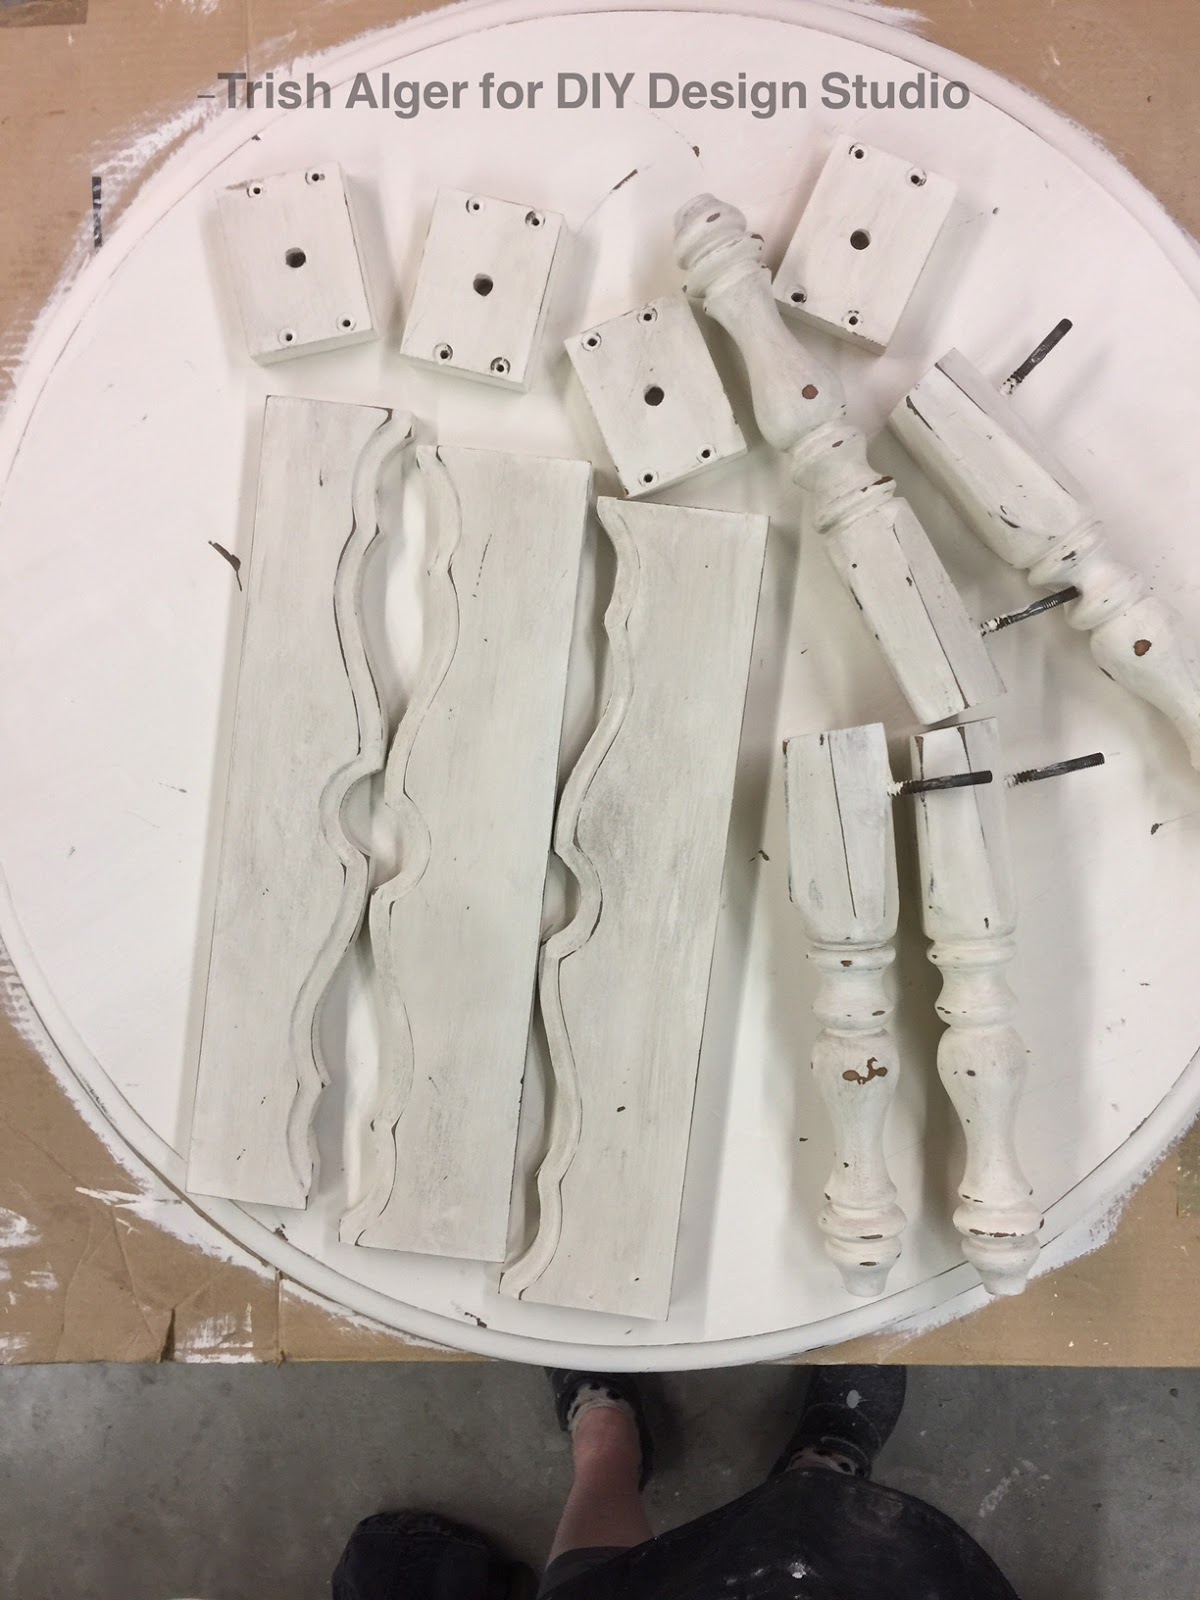
I chose to recycle a canvas box frame for my project.  I got this after Fall/Christmas for clearance at 90% off, so it was ninety cents!   Y...