Friday, September 21, 2018

Spooky is My Favorite Color of Fall!


Hopefully by now you have seen a few projects from us here at DIYDesignStudio relating to our favorite colors of Fall.  Well, my favorite color is anything SPOOKY.  I am a total Halloween junky.  If you have followed me for a while you already know that.  I am keeping the spooky flavor going with this project as well and created a Book of Spells.  I love making a new one every year to add to my collection of DIY spell and potion books. 
So, let me show you my process...
Get your vintage book from DIY Design Studio to being your upcycle.  Paint it black.  Mine is a huge law book.  It is 11 x 8.5 and almost 4 inches thick!  Nice big book, you know...to hold all my spells and potions.  
Next, grab the versatile Prima Relics & Artifacts skulls and angles resin blanks and give them a gothic paint job.  Then, adhere them to your book cover (I used hot glue) and add a thick layer of gesso over the entire book surface.  Leave a lot of texture in your gesso.  
I had a mini frame in my stash that was silver so I gave it a black wash, then a bit of dry brushed gold paint and added vintage text.  I then glued my Relics skull to the center of the frame (again hot glue) and added that to the book cover.  The skull got the same gothic paint job prior to attaching to the frame. 
   
I then hot glued florals to the surface.  And then, gave them a wash of watered down, very fluid black acrylic pain. 

(look at all that demension)
 
I added a bunch of washi tape here and there...that is the black and white script you see.  I also painted the word "Spells" in gold metalic acrylic paint.  I love this Prima Alchemy paint line.  I could just put that stuff on everything. 
 
And, there you go...a DIY Spell Book.  I recommend you make a bunch.  They look great all grouped together.  In another week or so all of my Halloween decor will finally come out of the garage and I will display the spell books together.  I CAN'T WAIT!!! 

Thanks so very much for joining me today. 
I hope you were inspired to make a 
spooky little something for yourself.
DIY Design Studio has everything you need to do just that.
Have a GREAT weekend!
Steph

Wednesday, September 19, 2018

Sweet gifts for Friends.

Do you agree that Homemade is the BEST?
We think so.


As you know, we carry mason jar lids and metal rings, this project uses both.   Plus our wonderful collage sheets.  You can order a full kit or purchase the individual items. 
Our collage sheets allow you to make any jar theme you want; kids, women, men, floral, holidays.  

Read to the end for a wonderful "recipe".

These precious lids become ornaments 
or simply jar lids!  
Add lace to finish it off.  

Think out of the box.  Jars hold so much more than foods, it can be luxurious body care items, or a fun and wacky birthday gift.


Homemade Luxurious Moisturizing Lotion:

16 ounces baby lotion
8 ounces coconut oil (solid form, not melted)
8 ounces vitamin E cream

Mix together with a handheld mixer until it resembles icing.
Store in airtight containers…keep it for your own supply…or create a label or lid insert for gift-giving!   Collages are available to create lid inserts.
My friends loved it! 

Cost breakdown:
Extra Virgin Coconut Oil $7.00
Dollar Store Baby Lotion $1.00
Dollar Store Vitamin E Cream $1.00
Use half the jar of coconut oil, the whole bottle of baby lotion & 1/2 the jar of vitamin E Cream.

Thursday, September 13, 2018

What is coming next, Fall or Spring?

This month we are celebrating the Fall, with our Colors of Fall Theme and given it is actually Spring here in Australia, I also wanted to celebrate the time of the year I emerge from my mini hibernation into the beauty this time of year has to offer.  

It's a time of Adventure and Travel, in fact I am heading away to the beach in the coming weeks for a little R and R and collaboration with a few of my art sisters.

These ATC coin backgrounds can be found HERE.

The Gypsy images can be found HERE.

ENJOY the Art of Danie May

Tuesday, September 11, 2018

Let's get things rolling with Garage Sale finds

GARAGE SALE FIND!


I found this at a charity Garage Sale, what a find!   It's huge and even has an interior removable drawer.  It keeps a wedding gown, shoes and veil, along with a Brownie uniform, treasured childhood works of art from 3 generations. 
Lots of love in that trunk!


Here is another treatment for your family room.  
A Great conversation starter.   I also did one with postcards and photographs of vacation.  
Some Dixie Belle paints and brushes, a sealer coat and you have created a family treasure.  
I covered mine with glass so that I could change the photos out during the year.


Find what you need here:


THANKS FOR SHARING US WITH EVERYONE!


Thursday, May 18, 2017

Refab-ulous Table

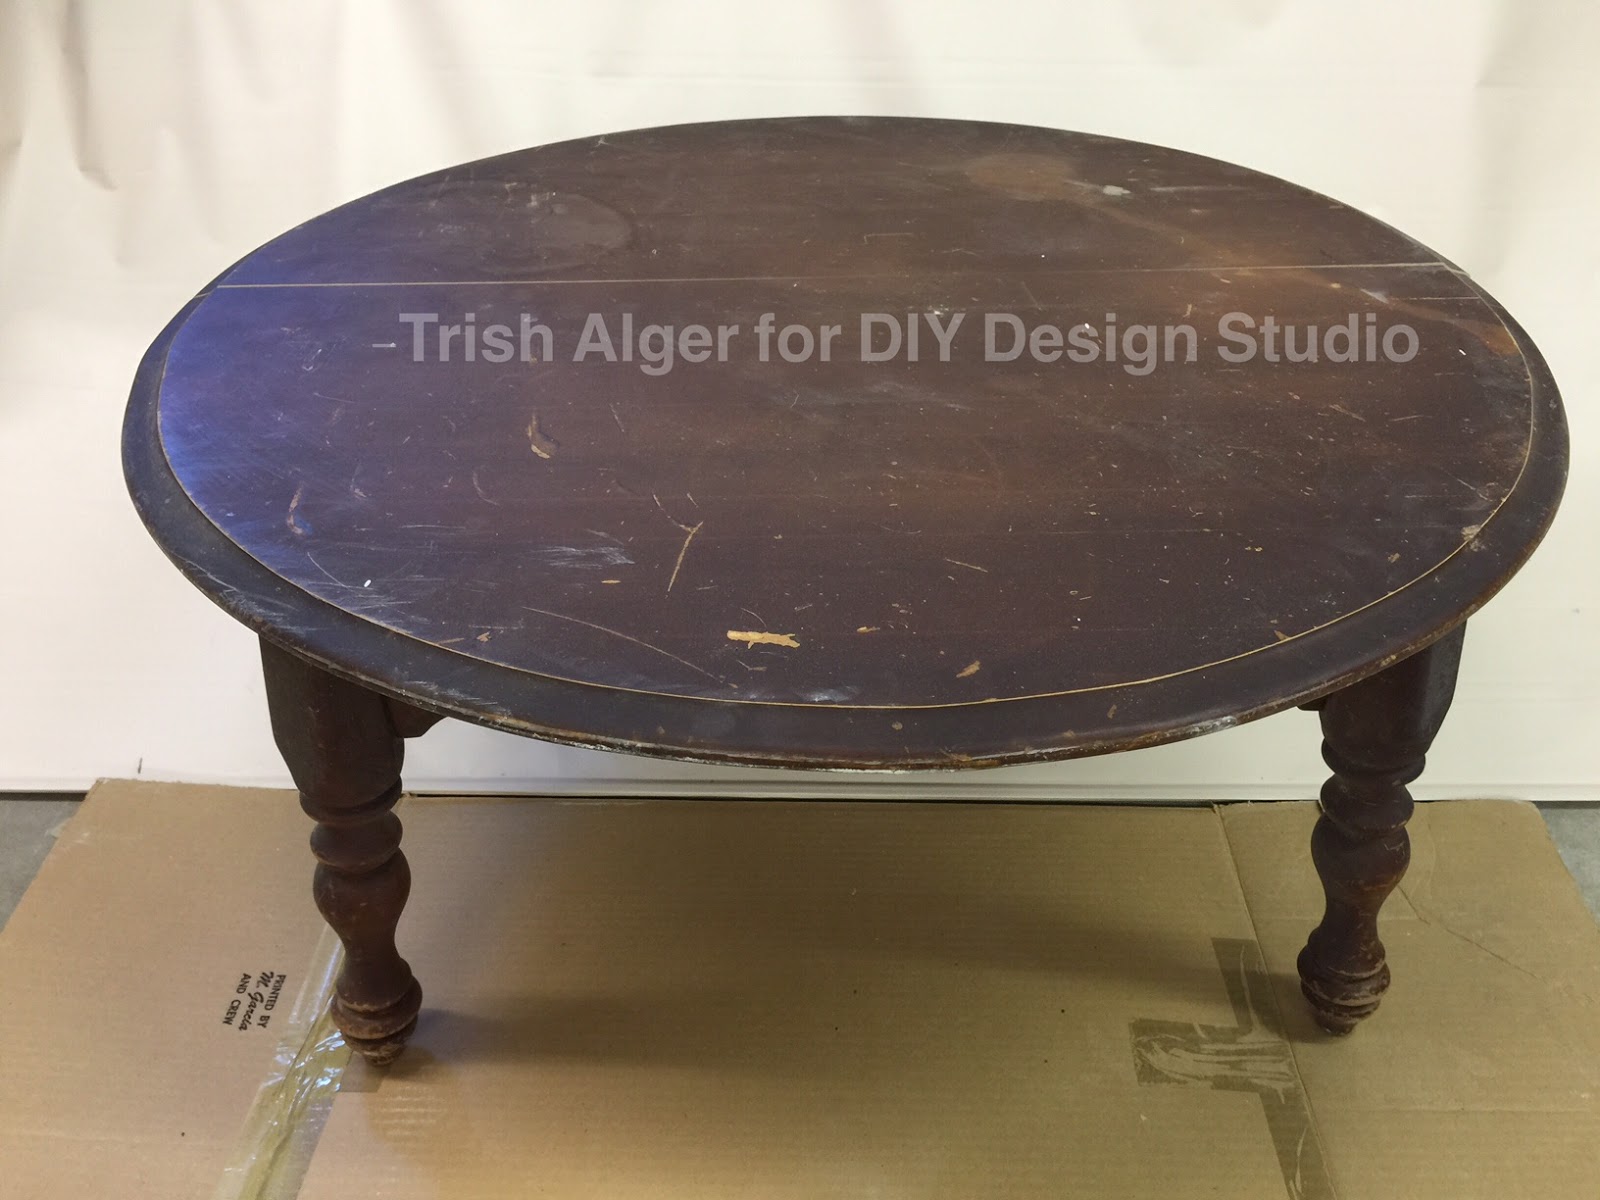
Let's take a table with some miles on it and make it look this fabulous.
Dixie Belle Paints rescued this well-loved wooden table.
Love the lines.
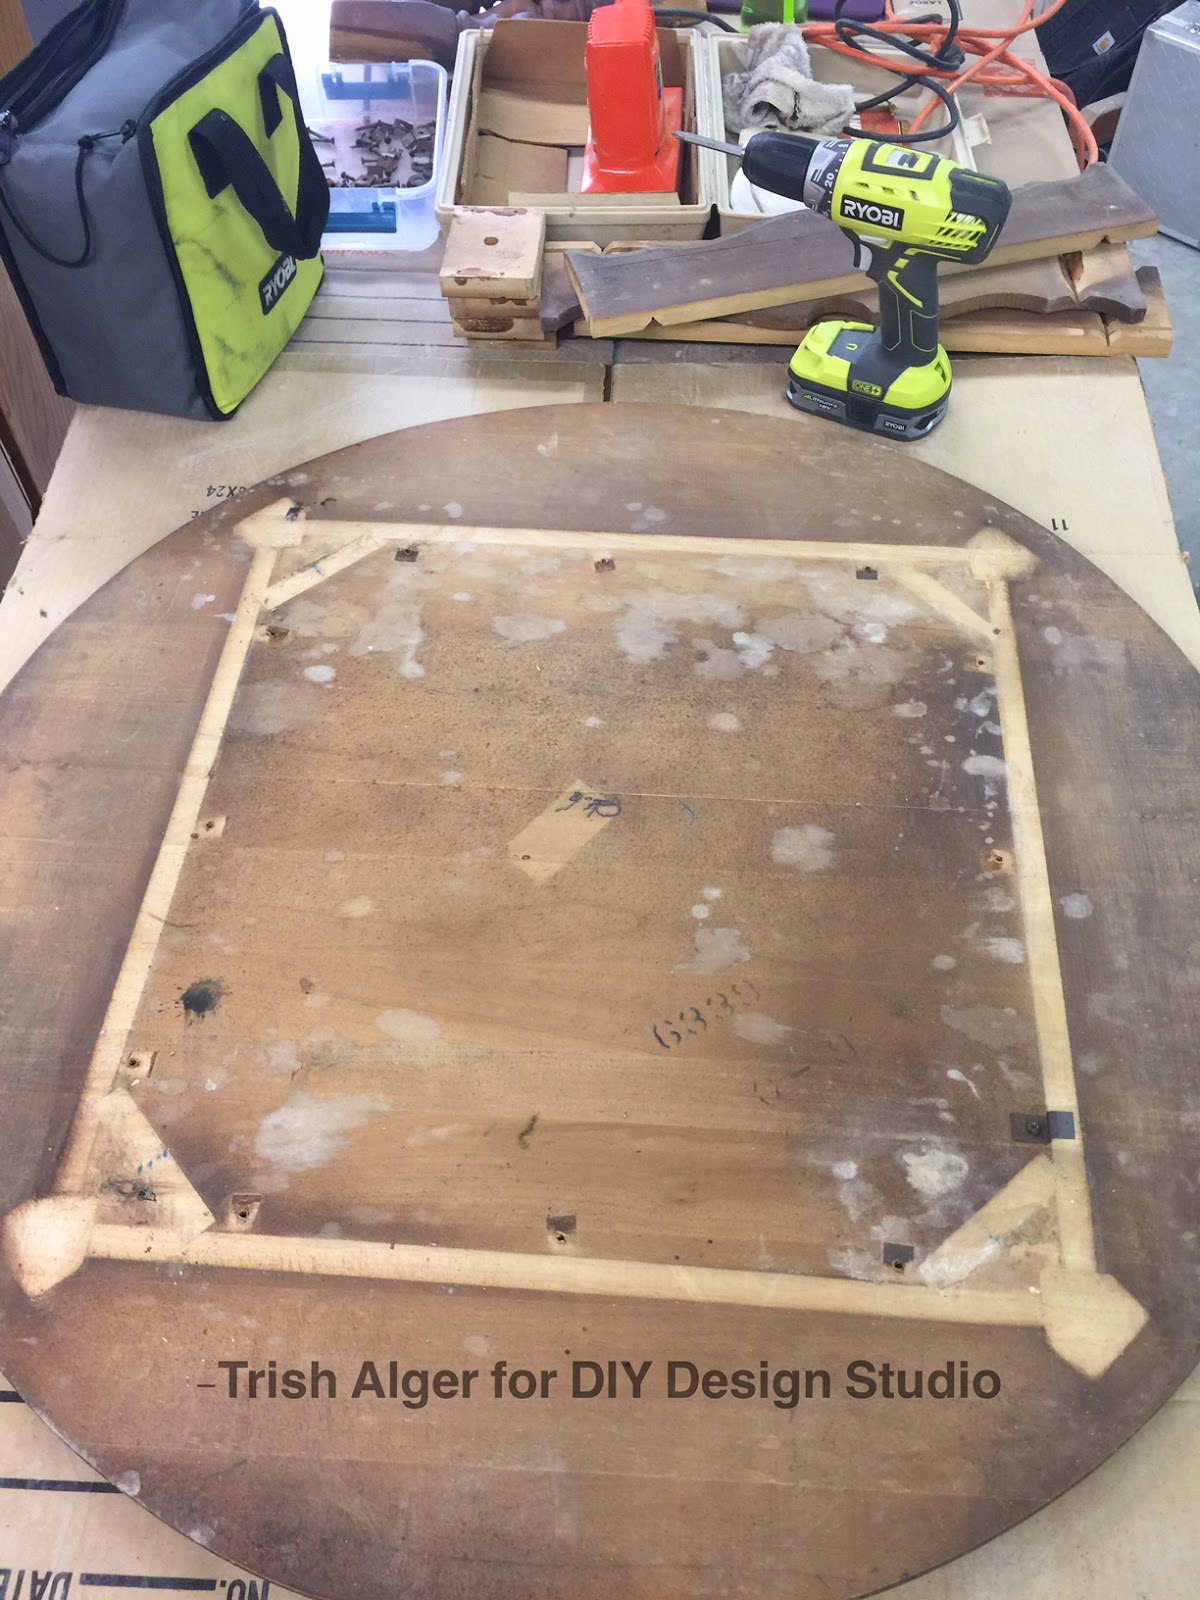
Here is the underside, after removing all of the parts:
Yep, the top of the table had a long crack in it.
Wood glue to the rescue.
Love the softness of the Buttercream.
Looking good.
A close up:
Realized there was an uneven place after gluing, so I added some Dixie Belle Swamp Mud to fill in the gaps. Sanded it down and painted a thin layer of paint over it. 
(YES, I placed the Swamp Mud over paint. These products are amazing!)
While the table top rested I did some rust cleanup. The hardware was all rusty, some vinegar in a bottle overnight did the job.
Looking pretty good now:
The smaller wooden pieces need some TLC next. See the piece in my vise? Yeah, we had another hidden crack.
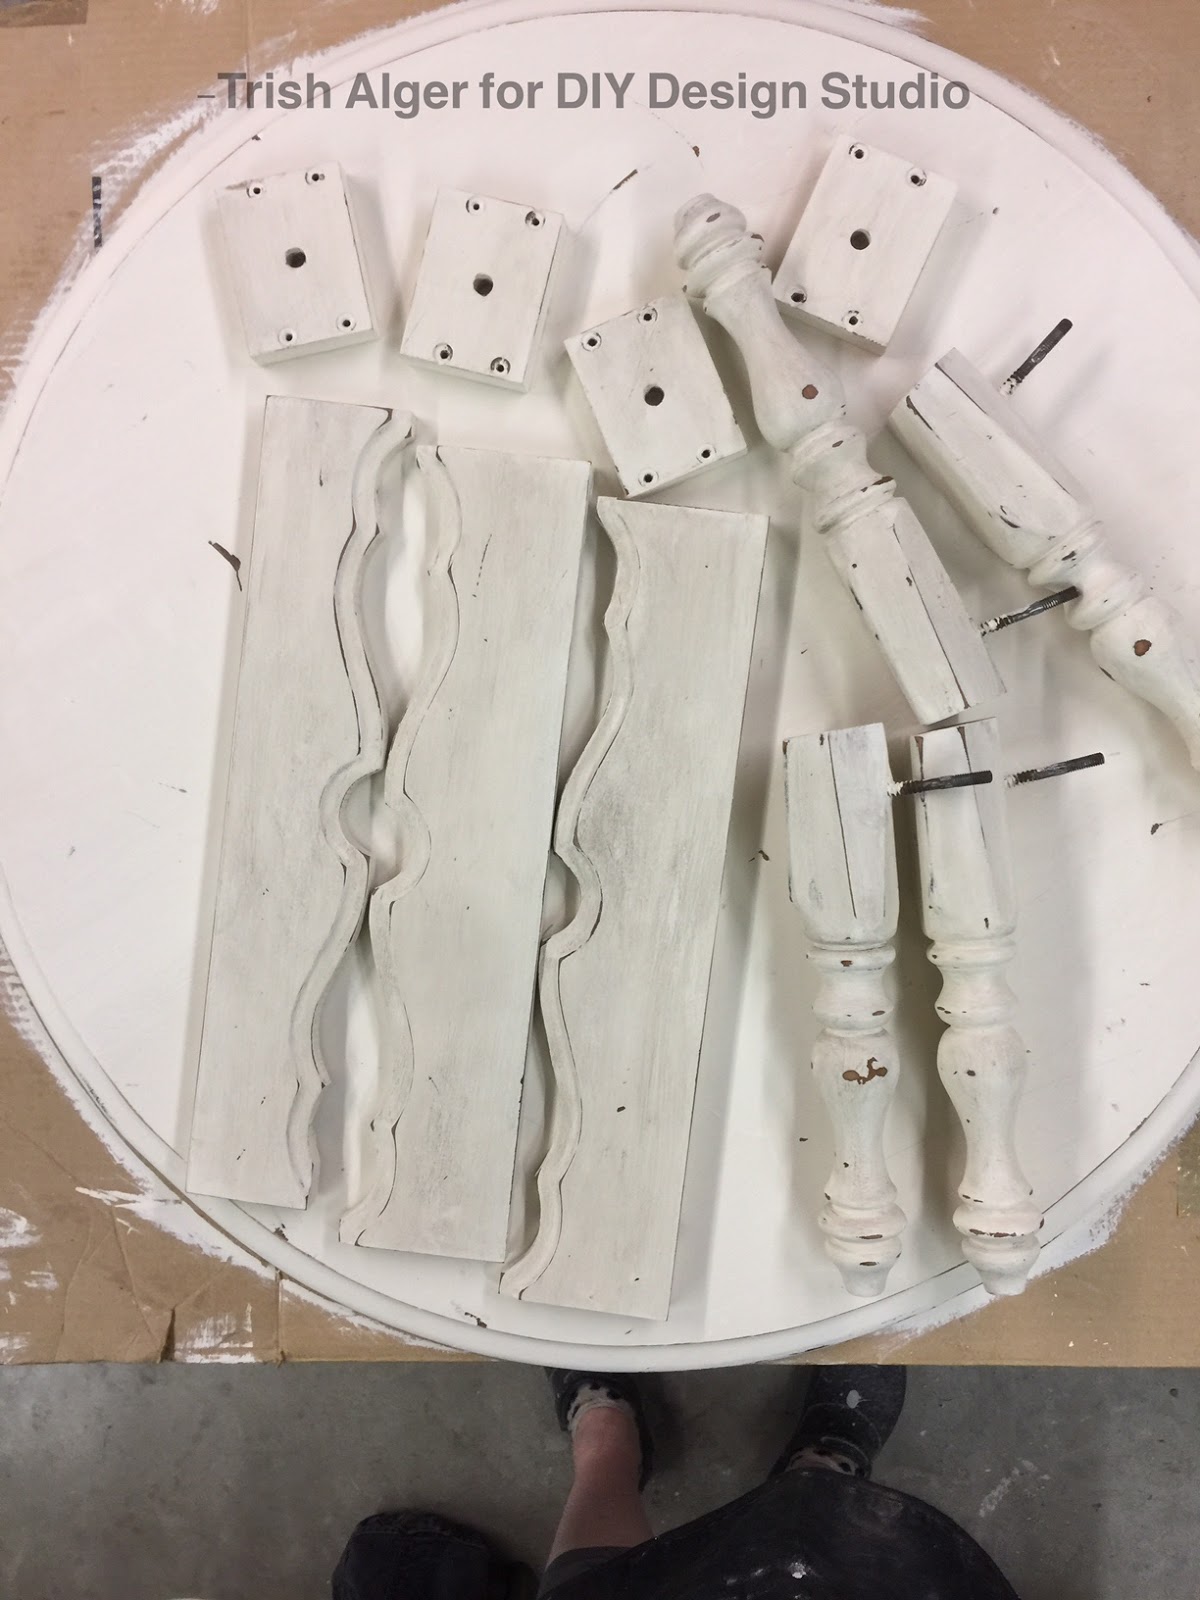
Next up is the distress phase using the sander.
Love the way these curves look. Distressed and not:
Then a thin layer of Best Dang Wax over every part.
Thin layer of Grunge Glaze completes the look. You can see the difference against the bright table top:
Lastly another light layer of wax buffed on.
As I assembled the parts:
All together now:
The effect was spectacular:
This was great fun and the next large project awaits. I hope you enjoyed the process as much as I did.
Thank you and ciao for now.
-Trish Alger


Wednesday, April 26, 2017

playing the frame match game

Do you like handmade papers? I have a pair of framed papers with tiny pressed plants in them, and they have been requesting an upgrade for quite a while.  To make a wall grouping, I decided to add a framed chalkboard piece--all with a bit of DIY help, of course.
For this project, I used some painters tape, Americana Chalk Finish Paint for the frames, some Crème Wax coating, and for the plain glass-turned-chalkboard, DecoArt Chalkboard paint.
The handmade papers are properly framed, with sealed backings, and I really didn't want to go to the worry of dissecting and then reassembling them just to paint the frames.  So, I outlined the glass with painter's tape.  You can see the overlap, which was then trimmed with a razor blade.  Below, you can see the trimmed edge.
A simple coat of paint, and a layer of protective Crème Wax finished off all three frames.  The only slight delay was the chalkboard paint--it takes four days to cure, and then a brief baking in an oven.
All in all, I'm very pleased with this trio's upgrade.
:)trisha

Wednesday, April 19, 2017

Tiffany-ized Silver Dish

Tiffany is the height of glamour and class. 
This rescued, vintage, silver dish was Tiffany-ized.

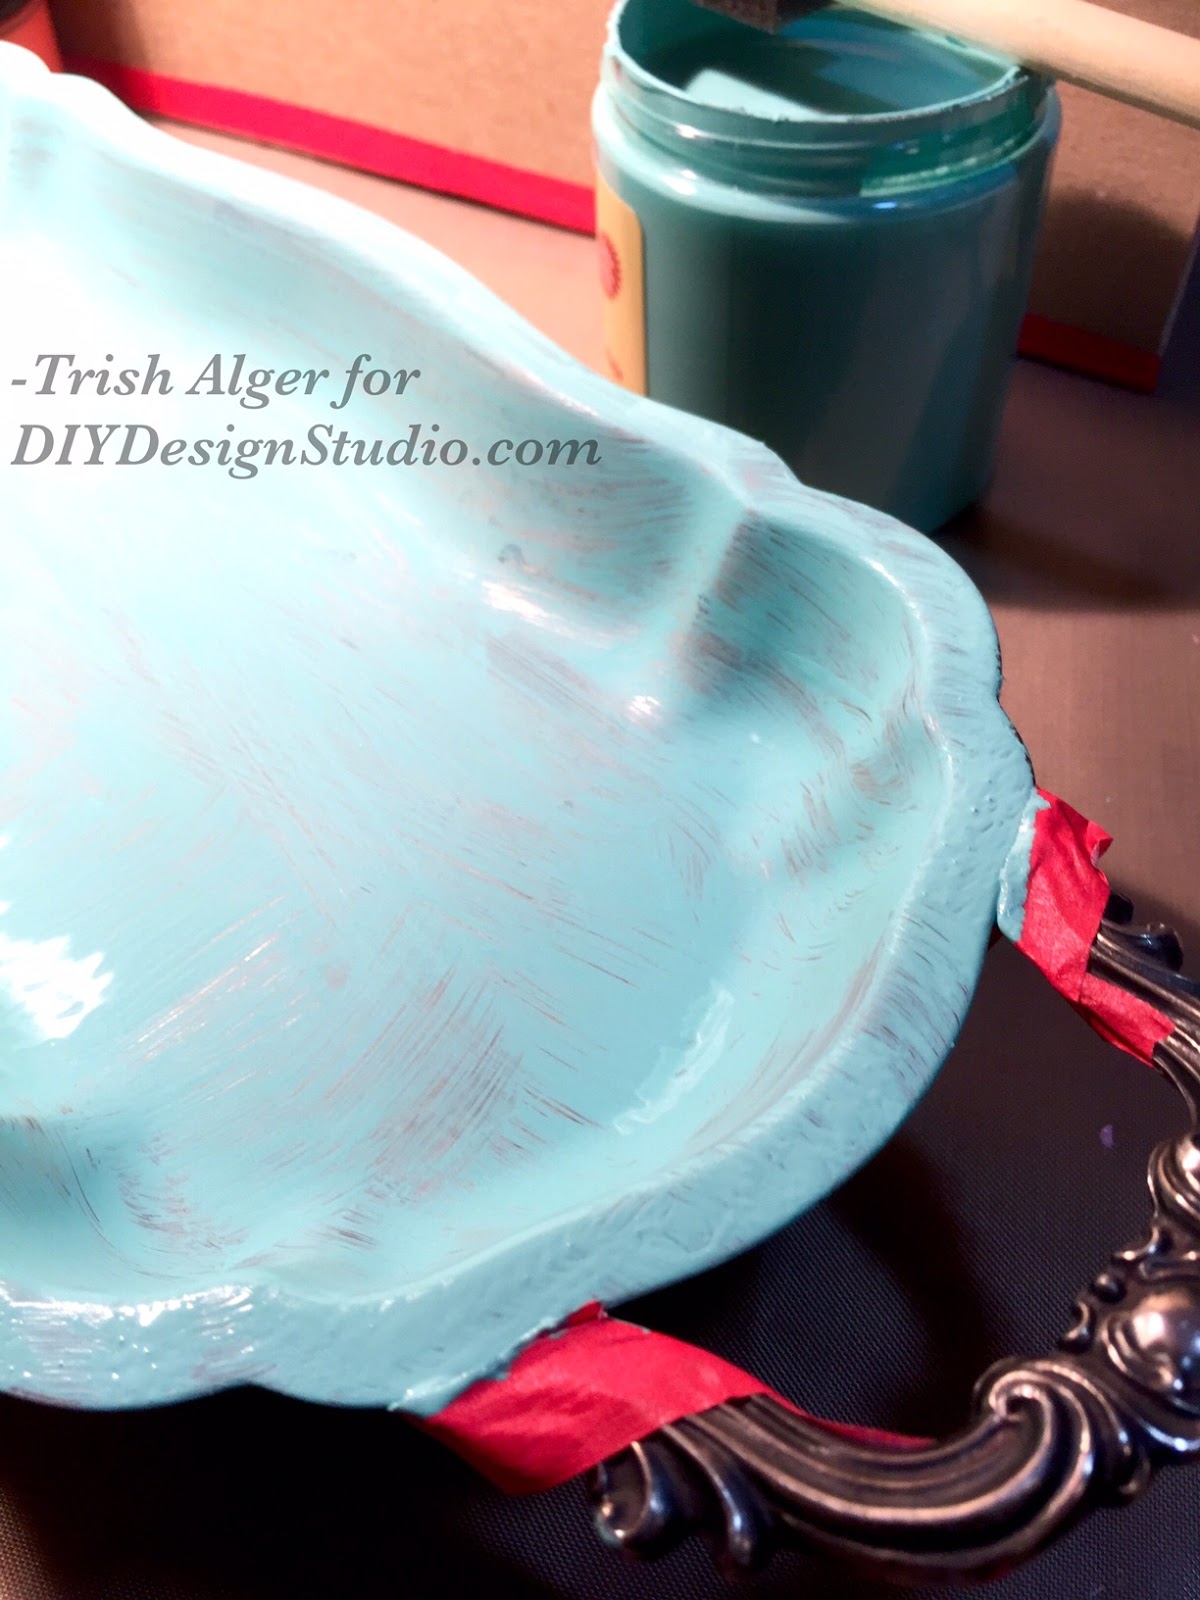
Using Dixie Belle "The Gulf" Paint, paint tape, chip brush, and Dixie Belle Satin Clear Coat Sealer this dish was rescued from the bin.

It had little to recommend, besides the great handles and legs and the overall shape of the dish.

I taped off the legs and handles.

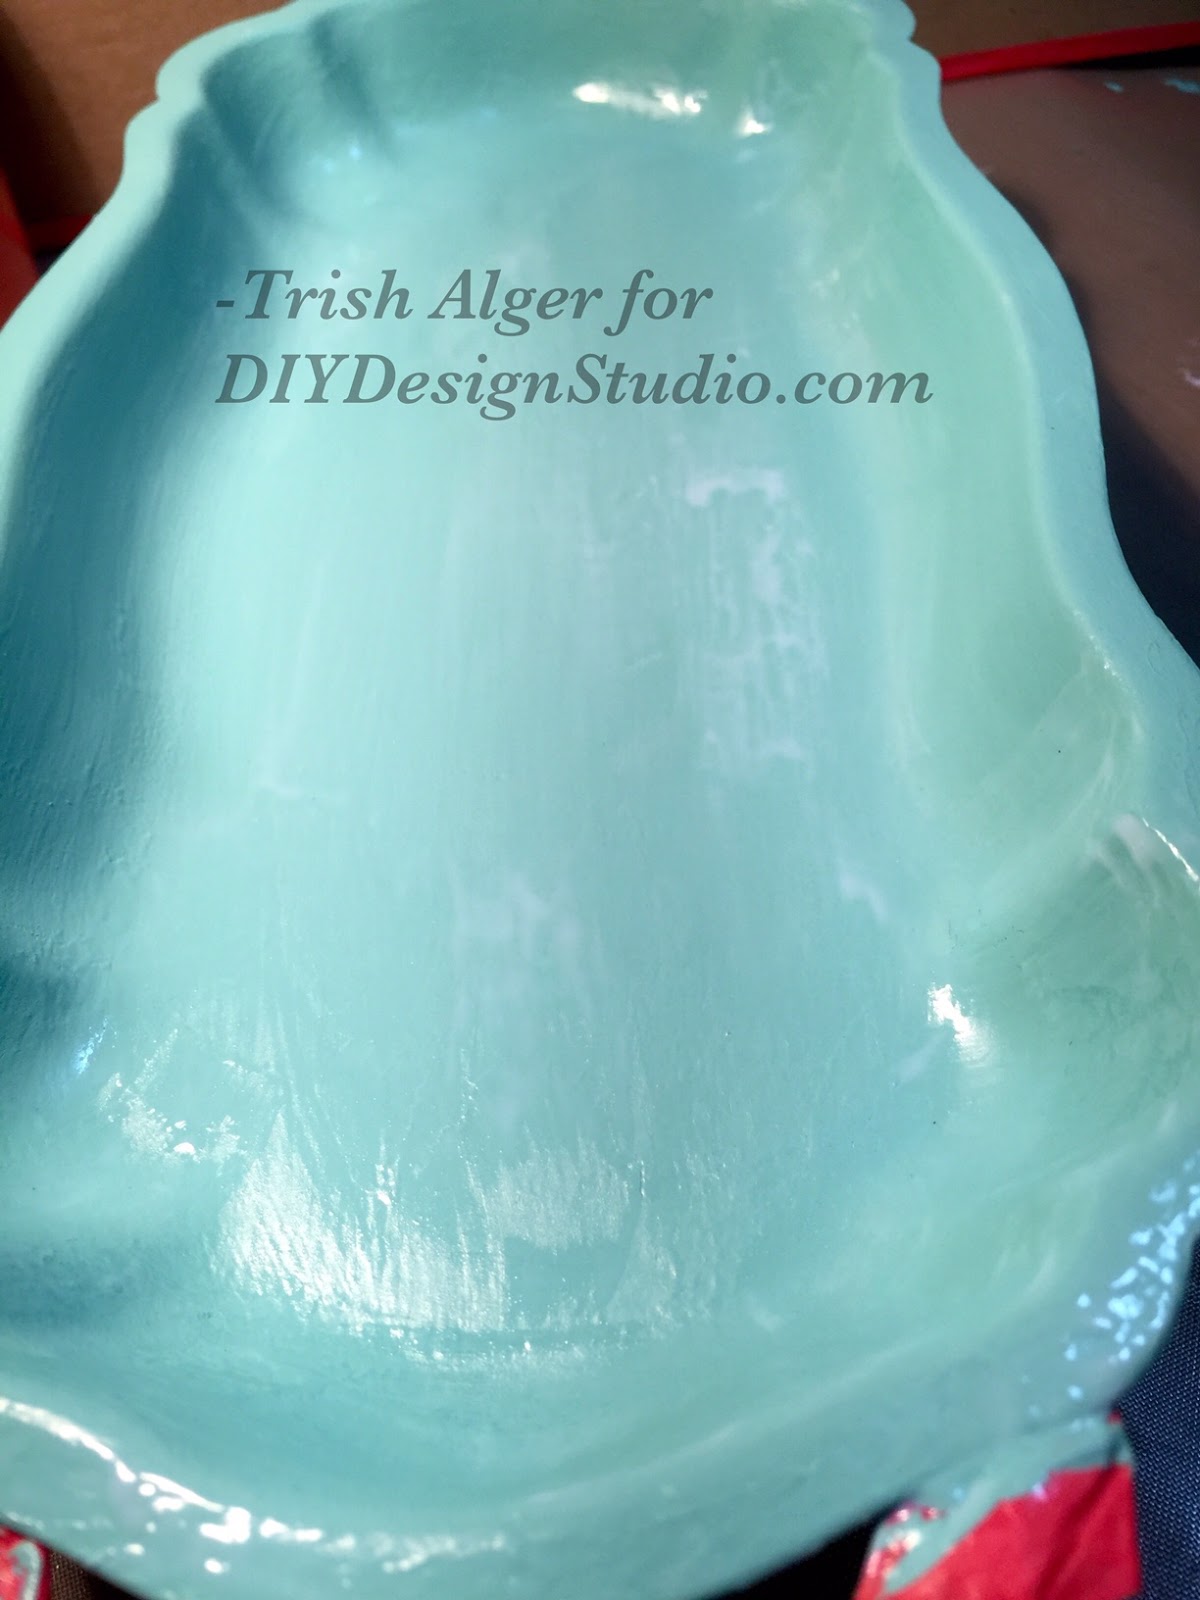
The Gulf color was the closest to Tiffany's unique blue. Coat number one:

I wanted full coverage, so I waited for the 1st coat to dry and added another:

Three thin coats did the trick. You can always sand down areas that are too thick.

I wanted a water resistant surface so the sealer was the next coat:

This is so forgiving. The sealer brushes on nicely and dries clear and fairly matte.

Here is the big reveal:

Another angle:

One with pearls, as befitting Tiffany:

Did you notice the color? Did it remind you of any other  recent projects in that color range? Yeah, that's right...it will be part of my office set---still to be complete. Stay tuned!!

Thank you for taking a gander.
Ciao for now,
-Trish Alger

ZEN for me.

I chose to recycle a canvas box frame for my project.  I got this after Fall/Christmas for clearance at 90% off, so it was ninety cents!   Y...