Saturday, October 13, 2018

On Missions for Good Visions

Week 2 of Visions Board is here.
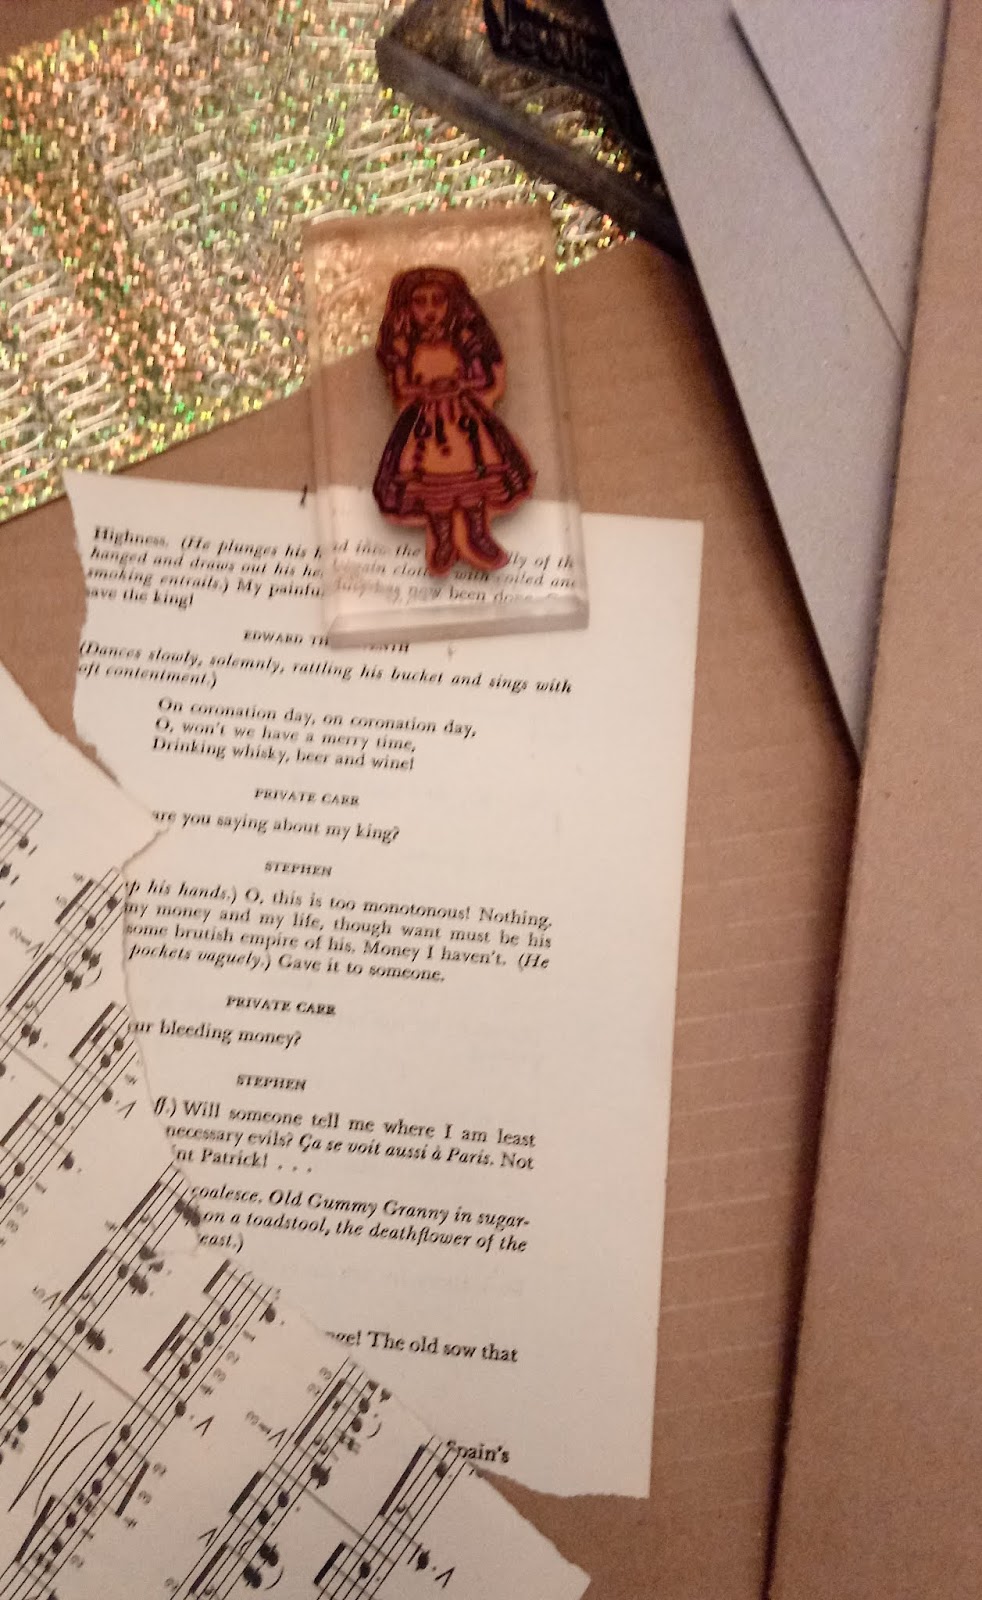
I have been gathering substrates for my board, corrugated, heavy chipboard or the Dollar Store for poster board or Foamcore is perfect.  As I am rummaging through the studio, I am picking up things that strike me as possibly appropriate for my board.


I have become Pescatarian (vegetarian with fish).  My husband has been diagnosed with some health issues and we MUST eat healthy, limited carbs, fruits and veggies, and no processed foods...So this board is actually more for him than me!  Still a work in progress with more thoughts to add.  


You could scan/copy pages from a favorite book, cut pictures out of magazines for favorite foods or fitness/exercises. Family event photos are perfect too.
Healing thoughts/images if you need them are great.


My vision for 2019 is to make my website more profitable and to hopefully stay open as a store!  A clean thought process and orderly office can help make reaching that goal more possible. 


        \
Give yourself 5 minutes each day and allow thoughts to pop into your head, you may be surprised!  Make notes.

Choose with no preconceived thought process, you will think about it later as you build your board.  Pick colorful images that can stand out as focal points or subdued images or papers for backgrounds.  

I chose the flat corrugated, as it can add texture as I move along.  It also presents a neutral background if left blank in areas, or use any color you choose.   My board is 15" x "20.   Easy to hang on the fridge or office wall as a daily reminder.  

Mod podge, watered down Aleen's 
tacky glue or even Elmer's glue is fine for applying images and backgrounds, but not too watery especially if you are using magazine pages, as they will wrinkle.  Glue sticks are a good option, as they are not wet.  Keep a brayer or old credit card handy to smooth the papers as you go along.

Build using the format I showed you in my last post...or just use this as prompts for thoughts and images you can apply.
Next week we will add our own thoughts words, borders accents.  We will create a checklist to use.   

Please stop by our Store and take a peek at all the great stuff and the SALE prices too!  www.DIYDesignStudio.com


Thursday, October 11, 2018

Saturday, October 6, 2018

Visions Boards for all of us

I have been thinking of Vision Boards.
This is a good time to start and get a jump on 2019 visions and goals.


We will share some tips and techniques for creating your board, come along and create with us.  

This is a sample layout you could follow to get organized with your thoughts...

Have you ever thought about making a vision board?  

It is fun and can be cathartic, enlightening and sometimes surprising.   

A BOARD DOES NOT HAVE TO BE FANCY OR EVEN ARTISTIC.  It is about YOU.  Begin with a poster board, corkboard, foamcore or anything large enough to visually fit your thoughts, dreams, and goals.  
Each Sunday we will explore possibilities and show some progress on OUR board.  

 Pull out some magazines, photos, papers, whatever sparks your interest and see where we can go.  The idea is to be free and let your imagination take you where you WANT to be.


Friday, October 5, 2018

en·to·mol·o·gy

en·to·mol·o·gy

Let's glam up some creepy crawlies! 
From your local dollar store grab a few ugly insects and a frame in the size you desire.  Or, grab a frame from your stash.  Pick up a few supplies from DIY Design Studio and you can whip this up in no time.  This is also a great craft to do with the kiddos or grandkids...nothing in this that a beginner can't tackle. 
I started with a piece of vintage text page.  I used a piece of ledger paper that I got in a combo pack of vintage text from DIY Design Studio.  You can also use pages from one of their law books.  Which is a great deal - you get the whole book and some of these I know are very aged.  This G45 Botanical print would be great too!  I stained my paper with a bit of coffee.  I dribbled it here and there and literally allowed my coffe cup to leave a couple rings on the page. 
I then printed the title of the specimens and their corresponding number in my collection (EW - not really).  I adhered those labels to the ledger and inserted that into the frame. 
And, finally I painted my creepy crawlies with a couple coats of Dragon's Eye Art Alchemy gold paint.  I LOVE this line of paints.  If you have followed my posts you already know that.  
Then, my little friends were hot glued to the glass on the front of the frame.  If you want yours to be permanent you will want to add E6000 and hot glue.  The E6000 will be the forever bond and the hot glue will be the instant bond while the E6000 cures overnight. 

And, there you go.  I need to whip up a few more of these.  
A collection on the wall together would be an awesome addition to my spooky decor. 
Have fun making yours!!! 
And, please share your creations with us and tag us on social media. We love to see your projects!
Image may contain: food
As always thanks for joining me. 
Have a great weekend crafting! 
Stephanie

Monday, October 1, 2018

DIY Tricks and TIPS for all over the house

We all like to be savvy and efficient and make tasks easy, right?

Let us help you to make it easy!


The Winter holidays bring out our fancy dishes and glassware, store them with coffee filters and avoid scratches or breakage.


Easy De-icer.Fill a clean spray bottle with 1 part water and 2 parts rubbing alcohol and store it in your car during winter months.  It won't freeze! Spray it on your windshield and windows on those chilly mornings to make scraping easier.  Did you know that hand sanitizer is usually alcohol based?  Squirt it on frozen locks to allow your keys to work.


SOCKS are for more than FEET!

Place them snugly on windshield wipers with a rubber band in a pinch.  They also keep the wipers from freezing to the window at night.

Keep socks in your glove box to use as gloves in a pinch.  You can use them on your hands to wipe away foggy windows and mirrors too.

Reuse plastic grocery bags to fill pillow forms, especially for outdoors.  Pack it full, zip it shut and VOILA.  You can remove them if they get wet or simply need to be freshened.   

This works great for dog beds too!  

Use two rag rugs stitched together and fill tightly with recycled plastic bags.  You can throw this in the washer too!  HANG TO DRY.

Hope these are fun ideas to get your thoughts going for even more uses of regular old items becoming new ways to use them around the house.


Thanks for dropping by and sharing us. 


Saturday, September 29, 2018

Sundays in Fall feel so good!

Fall is warm and comfortable 
with fantastic colors outside.  
Read on for some projects.

I do adore creating Digital art...here is a treat for you!
Digital Elements from Mischief Circus.


These projects make it cozy and warm inside.

A Dollar store bowl with TEXT PAGES adhered 
and a collage (1951) for Fall added for color, some jute or raffia, and a tealight finishes it off.

This example uses a dollar store tall prayer candle.  We added burlap, a transparency of our collage and loose burlap threads.  When the candle is lit, it makes a beautiful glow through the transparency.


Thanks for stopping by for some DIY inspiration!


ZEN for me.

I chose to recycle a canvas box frame for my project.  I got this after Fall/Christmas for clearance at 90% off, so it was ninety cents!   Y...