Wednesday, February 22, 2017

Updating a Tired Old Frame

Have an old frame that needs a color facelift? 
Let Dixie Belle Mineral Chalk Paints work their magic.

Using Sea Glass and The Gulf with a light swipe of Best Dang Wax Clear, at the end; I was able to transform this tag sale frame for my next DIY project.


Here is the frame, after a wipe-down with a damp cloth.


A light coat of Sea Glass with a chip brush.


I used a dried, used, chip brush to scrape off back to the original color; in just a few places. 
(It's easier when the paint has dried to the tacky stage).


Haha, I forgot to remove the sticker from the sale.


I mixed a little of the Sea Glass into The Gulf for a custom color.


I used the same used and dried brush to scrape on the new custom color in places.


When it completely dried I used a soft paper towel to add a light coat of the wax, wiping off the excess. It can be buffed to a great shine.


Here you can see where I used the leftover custom paint.
This will be part of a DIY project you will see in a future post. Hint: think office organizing!


If this post has been helpful for you, please let us know.

Ciao for now,
-Trish Alger


Saturday, February 11, 2017

FUN DIY Mason Jar Jewelry

HOORAY!   

We found adorable new items for YOU.


Yes, you can add jewelry to your Mason jars.   We added them this week, make sure to take a peek at them!   Gift giving got happier and more personal!  

And p.s. they are really affordable!  Thanks for stopping by!


Wednesday, February 1, 2017

Thrift store Up-cycle

I found this vase at the thrift store... Decided it would be perfect by my front door if it looked a little more earthy!
 
I took the vase from
to This
This
 
 Here are a few more before pictures!
 

The pictures below you can see how nicely DIXIE BELLE BUTTERCREAM PAINT goes on the metal vase.


 Once it was painted, it dried for about 2 hours.


 Then it was ready for a coat of DIXIE BELLE VAN DYKE GLAZE!


I love how it turned out!  Perfect for my entry!

Wednesday, January 25, 2017

DIY travel themed map bunting

Follow us on Bloglovin!

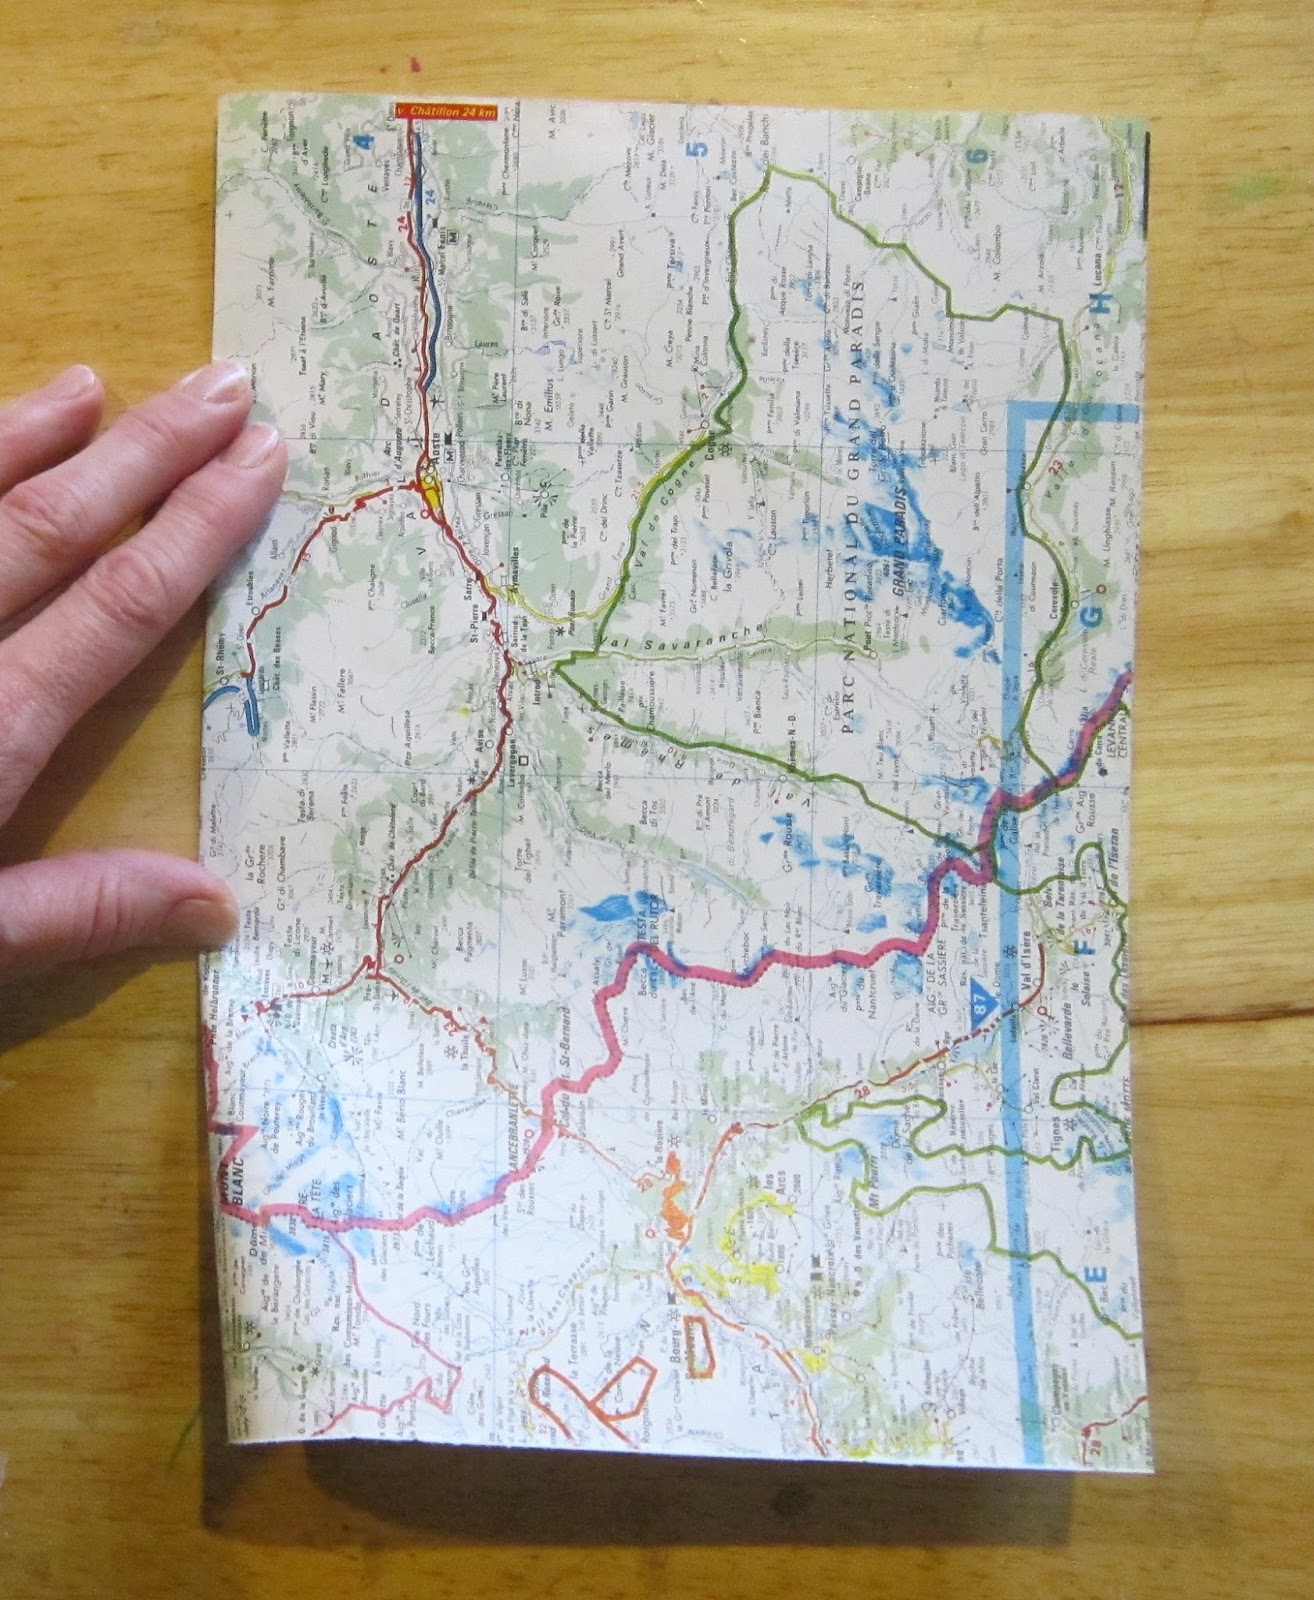
I helped make the decorations for the new grandson's baby shower a few months back. It had an adventure/travel theme, which was the perfect opportunity to use the old atlas I'd been hoarding for, ahem, at least a decade. No joke, I made the flags for this map bunting while sitting in the car!  However, the pics I took then don't seem adequate now, so I've added a few for clarification.

First, I tore out pretty much all the pages of the atlas, which were quite large.


I FOLDED each whole page in half: 

trimmed up any rough edges, and then CUT each large half into two smaller pieces, fold at top.


Each smaller, folded piece, I gave a little crease in the center at the OPEN shorter edge--this will be the bottom tip of the flag.  It will leave just enough of a mark that you can see it to cut by.  At the top of the flag is the fold, which will sandwich over some jute to make the lengths of bunting.


Line up the top corner of the flag with the crease, which marks the center tip, on the paper cutter.  Repeat on the other side, leaving the flag triangle.  Again, at the top is the fold, which will be hung over jute and glued together to make the lengths of bunting.


Open the flag, sandwich in the length of jute or twine at the top, and gluestick the flag together, folding it back over itself.


This was the calm before a million people showed up for the shower.  It was crazy!
Here are the buntings at the shower.  Now, they're hanging in the baby's nursery.  You can see more baby shower decorations, and baby nursery pics in the next post . . . see you there!

easy adventure/travel themed baby shower decorations

You know, I can say "easy", because I have a lot of stuff hanging around my house, waiting to be used at times like these!
Tablecloths from the same son and dil's wedding whose baby shower this is, burlap runners I've had forever, vintage cameras, old children's readers, and vintage glass luncheon plates, all from my many accidental collections.  The circles are punched from map scraps left from making the flag bunting.

Trail mix party favors in vintage suitcases--you can guess where those came from . . . yes, the globe is mine, too!

Giant rosettes: the centers are dictionary page rosettes saved from a previous baby shower, the back rosettes are atlas pages from the same atlas as the bunting.  DIY for the flag bunting is HERE.

The baby's breath are in glass baby bottle vases with jute wrapped at the top, with blue tinted water.

These map backed, framed letters were at the baby shower, but now you can see them in the baby's nursery.  The old radio was my uncle's, so Fenn's great-great uncle.

Framed, computer printed "You Are Our Greatest Adventure", with map backing--this was also at the shower, it and the atlas buntings are now in baby's room.  I wish I could remember where I found this print, it was free online--if it looks familiar, let me know.

Recognize the rosesttes?  Now they hang above the changing table.  I had no idea all these decorations would end up in his room, but let me tell you, it makes their creation even more gratifying to see them there! 


Wednesday, January 11, 2017

More Altering Fun with Dixie Belle Paints

Welcome to the DIYDesignStudios Blog!  
I am so glad to see you again. 

Today I have for you a work in progress, otherwise known as a WIP.  I am very excited about this project as it is a bit of a collab.  I will be creating an altered junk journal using DIYDesignStudio.com supplies as well as AlteredPages.com goodies.  Please see the supply list at the end of this post to find what you need to make a creation of your own. Here is a little tease.....

I began my project with a leather bound vintage law book that was about 800 pages long!  We eventually are going to remove tons of vintage paper from this book, some to be used on this project and some to save for literally 100's of other uses in altered art and mixed media projects for a later time. 
First a couple layers of Dixie Belle Paint in Chocolate. 
I then added a few paper embellishments consisting of torn bits of vintage pages from this very book.   This was de coupaged on with glue that had been tinted with the Chocolate Dixie Belle chalk paint.  I added more glue/paint mixture here and there to add 
dimension with lights and darks.  I allowed this layer to dry thoroughly.  I also added bits of collage from AlteredPages.com, 
which can be found here.  I found in the One of a Kind  catagory the great grid paper.  You just never know who you will find in the one of a kind catagory.  
Next, I added a bit of dimension with a stencil and Swamp Mud texture medium.  I used Chocolate and Dried Sage Dixie Belle Paint to tint the Swamp Mud.  It was then applied over the Compass Rose (small) stencil using a palette knife directly to the book cover.  I then added Dixie Belle Paint in Gulf for some pretty highlights.  I just used the tip of my finger to add the beautiful Gulf color here and there, where ever I wanted.  I just kept adding Chocolate and Gulf to add the dimension that I was after all the while using my finger as the tool of choice. 
After giving the whole project a good once over with the heat gun, I added a Giant Tag that I had in my stash.  This is when I value my "make it for future use" pile.  The tag needed a bit of color tho, Gulf chalk paint to the rescue adding that all important "pop".  A few pretty fibers were added and then I attached it to the journal cover using Tacky Glue. 
And, here is the cover of my Junk Journal.  I am so looking forward to filling this bad boy up.  As mentioned above this is a collab project so watch for instructions later on the Alteredpages blog on January 20th for more progress.  I will address how to deal with different bindings and signatures and how to go about removing sections of pages to avoid that dreaded alligator mouth look to your completed journal after adding all of those goodies we all LOVE!  
Here is a sneak peak at that....
removing approximately 12 pages per signature,
many times over within an 800 page book, 
creating space for journal and pocket pages. 

Thanks again for joining me today. 
Please check back next Wednesday to see what our designers have in store for you using Dixie Belle products. 
Again, mark your calendar for January 20th and check the AlteredPages.com blog 
when I will be posting my progress on this 
labor of love vintage law book/junk journal.
Have a great day! 
~ Stef  S.

DIY Design Studio
Dixie Belle Paints
Altered Pages
Vintge books
Palette tools
Glue
Ranger brayers
Embellishments and fibers
tags manila


Wednesday, January 4, 2017

Dreaming of BEACHES!

It has been cold here far too long.. I am ready for nice warm beaches!

 
I decided to create my own beach with a sunset!  To start I have a shell almost the size of my hand that I found a the thrift store.First I paint the water in the shell using Dixie Belle Sea Glass Chalk Paint.  I let it dry a bit.  Then with Dixie Belle Swamp Mud Texture Medium I added a small sand beach...


The beach needed a beautiful coral sky lit by the setting sun, Dixie Belle Flamingo Chalk Paint was the perfect color.  To give the sky to effect I was looking for while the  Flamingo Chalk Paint was still wet I went over it with Dixie Belle Buttercream Chalk Paint.  I love the how this is turning out.  Next I add a little of  Dixie Belle Buttercream Chalk Paint to the Dixie Belle Sea Glass water for a small wave effect.    

 
Finally, I used the Dixie Belle Van Dyke Brown Glaze to paint the  Dixie Belle Swamp Mud Texture Medium for sandy color.
 
 
Right now I am sitting on the beach trying to decide what I will do here.  Comment and let me know what should happen with this peaceful beach!

ZEN for me.

I chose to recycle a canvas box frame for my project.  I got this after Fall/Christmas for clearance at 90% off, so it was ninety cents!   Y...